Maintaining a thriving home garden hinges on the health of your garden soil. This is where a soil testing kit for gardening comes to the rescue. A home garden is a sanctuary of beauty and sustenance, and the foundation of its success lies within the very soil it’s rooted in. A garden soil testing kit is pivotal for any green-thumb enthusiast.
Table of Contents
Is soil testing worth it?
Absolutely, soil testing is worth it for effective gardening. It reveals pH and nutrient levels, guiding proper fertilization and amendments. This knowledge prevents over/under-fertilization, saves money, and boosts plant health. Whether for home or professional gardening, informed decisions based on soil tests result in thriving plants and bountiful yields.
What does a soil test kit tell you?
A garden soil testing kit empowers you to unravel the secrets beneath the surface. It’s a tool that allows you to decipher essential information about your soil’s pH, nutrient composition, and overall quality. By harnessing the power of a soil testing kit, you can cater to the specific needs of your plants, creating an environment that optimally fosters growth.
Are DIY soil test kits accurate?
DIY soil test kits offer general insights into pH and nutrients, but accuracy varies. User error, sampling, and kit quality play roles. For precision, professional lab tests are better. They provide comprehensive analysis for informed gardening. Combine occasional lab tests with regular DIY tests for optimal results.
Whether you’re cultivating vibrant flowers, luscious vegetables, or a mix of both, understanding your soil’s characteristics is fundamental. Home gardeners can now take matters into their own hands, transforming their outdoor spaces into veritable havens of beauty and productivity. In this guide, we’ll walk you through the seamless process of using a soil testing kit for gardening, enabling you to fine-tune your gardening approach based on accurate insights. So, let’s dig into the world of home garden soil testing kits and unlock the potential of your garden like never before.
Testing your garden soil using a home soil testing kit is a simple and cost-effective way to understand the pH level, nutrient content, and other important factors influencing plant growth.
Here’s a step-by-step guide on how to test your garden soil using a soil testing kit:
Materials You’ll Need
- Soil testing kit (readily available at garden centers or online)
- Sample collection tools (trowel, shovel, or soil auger)
- Clean containers for collecting soil samples
- Distilled water (if required by the kit)
- Plastic gloves (optional)
- Pen and paper for recording results
Step-by-Step Instructions
Choose Your Testing Kit
In the world of home gardening, a diverse range of soil testing kits awaits each catering to specific needs. The choices are abundant, from the fundamental pH testing kits to the more intricate and comprehensive variants capable of delving into a spectrum of soil parameters. When selecting a soil testing kit, align it with your gardening goals for optimal results.
Consider the core aspects of your garden’s health you wish to assess. Are you focused on pH levels, or do you desire a comprehensive evaluation of nutrients and other critical factors? You can handpick a kit that aligns with your priorities by pinpointing your preferences. This strategic approach ensures that the insights you gain are accurate and directly applicable to nurturing a flourishing garden.
Make an informed decision when choosing a home testing kit—tailoring it to your garden’s unique requirements can be the key to cultivating a thriving oasis. Selecting the suitable kit sets the stage for a harmonious relationship between your gardening goals and the essential elements that facilitate their achievement.
Choose the Testing Area
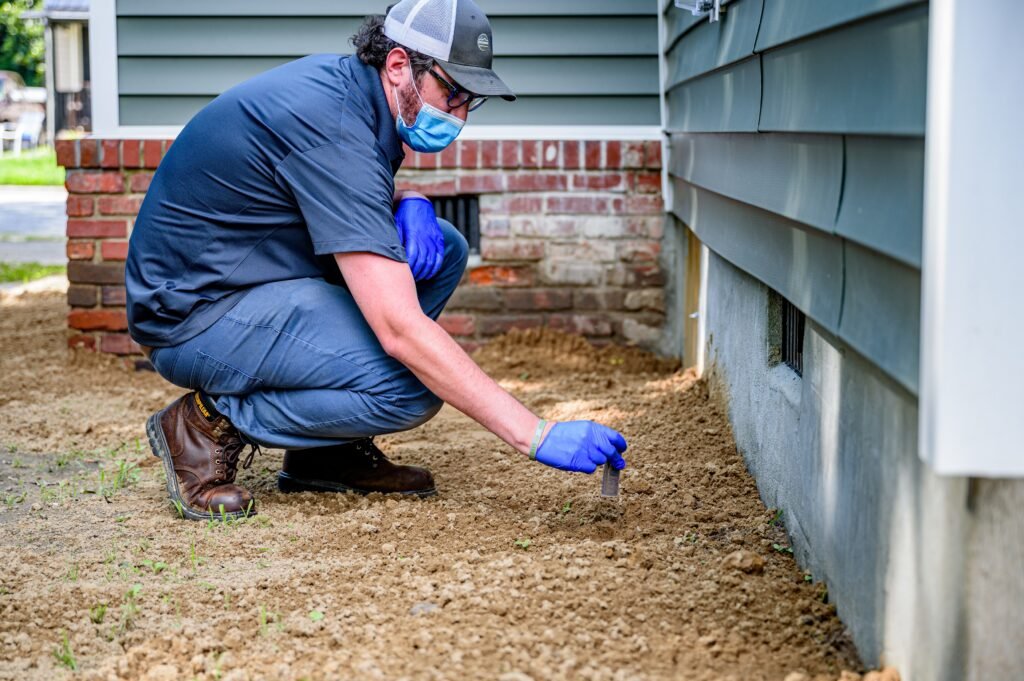
Choose the area you wish to evaluate when preparing to test your garden soil using a home testing kit. This selection process is crucial, as it sets the foundation for accurate results. It’s advisable to test multiple areas within your home garden, mainly if it exhibits variations in soil type. Different home garden sections may possess distinct nutrient levels and characteristics due to sun exposure, water drainage, and plant types.
By conducting tests in multiple areas, you’ll comprehensively understand your garden’s soil health, enabling you to effectively tailor your gardening practices. This strategic approach ensures that your nutrients and pH adjustments are precisely targeted, leading to more successful and thriving plants. Whether it’s a lush flower bed or a vegetable patch, analyzing various garden zones will provide valuable insights into a flourishing garden.
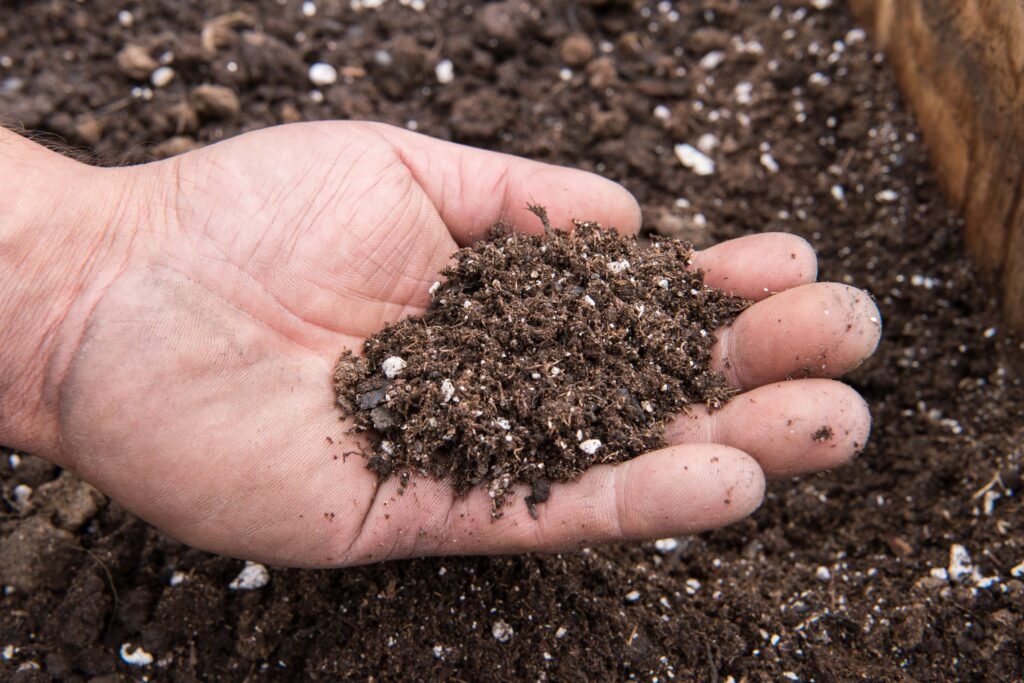
Collect Soil Samples
To gather precise soil samples, utilize a trowel, shovel, or soil auger. Delve to a depth of around 6 to 8 inches, aligning with the requirements of most kits. Enhance accuracy by extracting multiple samples from diverse spots within the chosen area, ensuring a representative composite. Avoid sections containing debris, rocks, or plant roots, as they can skew results. This meticulous sampling process sets the foundation for reliable insights into your soil’s composition, aiding in informed gardening decisions. Optimal sampling practices contribute to improved plant health and flourishing garden yields.
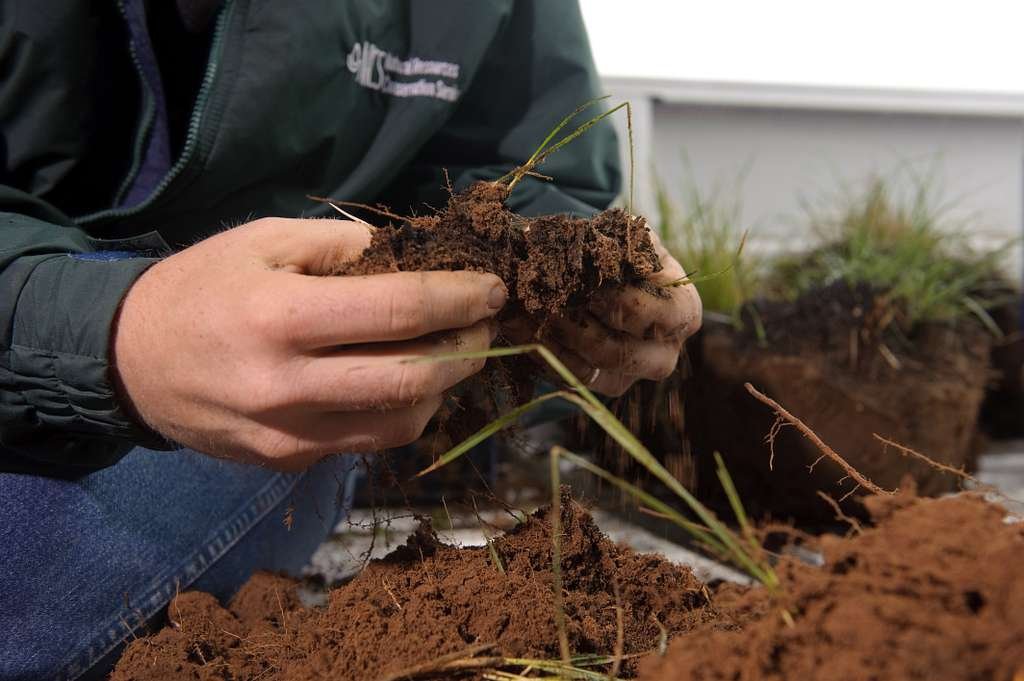
Prepare the Sample
Gather all the collected soil samples into a pristine container, ensuring their thorough mixture. Disintegrating any clumps and eliminating rocks or debris from the blend. In the case of moisture, allowing the sample to air dry is advisable. However, be cautious not to subject it to intense sunlight or excessive heat, as these conditions can potentially alter the sample’s composition. This meticulous process ensures that the soil sample accurately represents your garden’s conditions, leading to more precise results when utilizing a home testing kit. By following these steps diligently, you’re laying the foundation for successful gardening outcomes while harnessing the potential of your garden soil.
Follow Kit Instructions
Thoroughly review the instructions included with your chosen soil testing kit. It’s important to note that procedures can vary slightly between different kits. However, the general process typically involves precise guidance on incorporating soil samples and reagents into the provided testing chambers or tubes. Adhering to these instructions diligently ensures accurate results for your garden’s well-being. Following the step-by-step directions will lead you to uncover valuable insights about your soil’s composition, nutrient levels, and pH balance. By carefully following these guidelines, you’re setting the stage for informed decision-making, allowing you to create an optimal environment for your plants to flourish. Remember that attentive adherence to the provided instructions is critical to unlocking the full potential of your home soil testing kit and maximizing the benefits it brings to your gardening endeavors.
Conduct the Tests
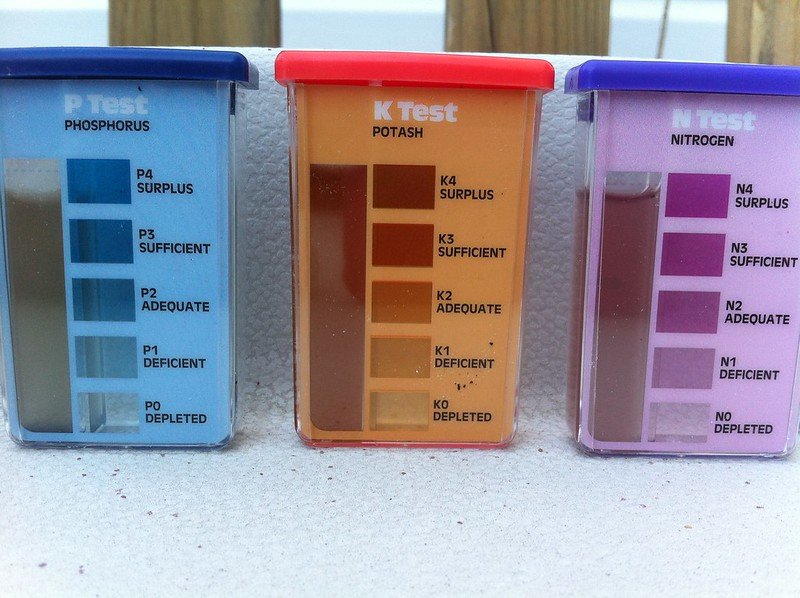
In a soil testing kit, you can expect to find standard assessments encompassing pivotal factors like pH levels, nitrogen content, phosphorus availability, and potassium concentrations. The testing procedure may necessitate the addition of distilled water to your soil sample, as per the specific instructions provided by the kit.
These essential tests unravel critical insights into your soil’s health and suitability for plant growth. pH levels impact nutrient availability, while nitrogen, phosphorus, and potassium are vital nutrients for robust plant development. By meticulously following the instructions provided with the soil test kit, you’re poised to gain a deeper understanding of your soil’s composition, enabling you to make informed decisions on soil amendments and plant nutrition. This proactive approach ensures your home garden thrives harmoniously, resulting in bountiful yields and vibrant greenery.
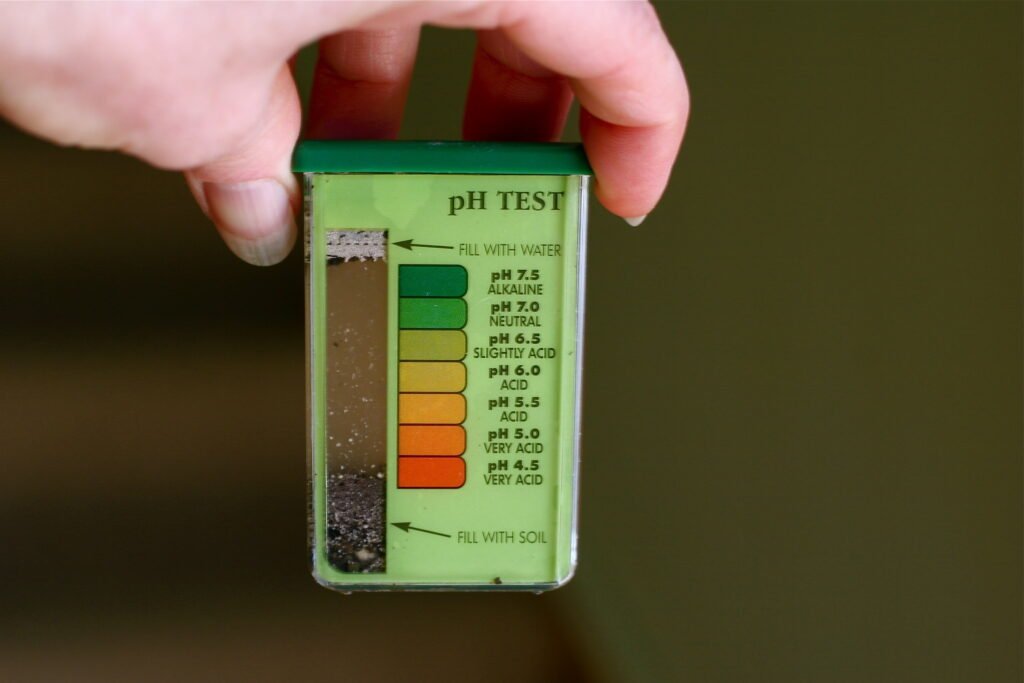
Observe and Record Results
Correctly interpreting your results begins by adhering to the provided instructions in the kit. Following the guidelines, observe the captivating color changes within the testing chambers or on the color-coded strips. These visual cues are vital to unlocking insights into diverse soil parameters. They unveil essential information about pH levels, nutrient concentrations, and more.
To keep this valuable information accessible, make it a practice to record your results. Jot down the observed color changes, numerical values, and notes about your soil’s characteristics. These recorded results will be a reference point for future adjustments to your gardening approach. With each testing cycle, you’ll accumulate a wealth of knowledge about your garden’s evolving soil conditions. This proactive strategy empowers you to fine-tune your planting strategies, fertilization schedules, and overall garden care regimen, ultimately fostering a flourishing and vibrant garden space.

Adjust Soil as Needed
Upon reviewing your test results, taking proactive steps becomes crucial if imbalances or nutrient deficiencies are detected in your soil. For instance, adjusting the pH may require incorporating lime, while rectifying nutrient scarcities might involve applying suitable fertilizers. Adhering to the guidance provided by your chosen kit’s results is essential. By embracing these targeted interventions, you can promote a healthier soil structure, fostering optimal conditions for plant growth.
Responding to the insights garnered from your soil testing kit ensures that your garden flourishes with vitality and abundance. Explore these corrective measures harmoniously with your kit’s recommendations, and witness their transformative impact on your garden’s overall energy and sustainability. Your gardening journey becomes a rewarding experience as you nurture your soil to provide the best for your plants’ well-being and productivity.
Repeat Testing
Monitoring your home garden’s soil conditions is vital for sustained plant health. Weather fluctuations, evolving plant growth, and external influences cause soil characteristics to shift over time. To ensure optimal conditions for your garden, regular soil testing is essential. You gain insights into its evolving nature by periodically assessing your soil’s pH, nutrient levels, and overall composition.
Routine testing empowers you to make informed adjustments to your gardening practices. You’ll identify trends, anticipate potential deficiencies, and proactively address imbalances. This proactive approach aids in fine-tuning your fertilization, watering, and soil amendment strategies.
Investing in periodic soil testing reinforces your garden’s resilience against adverse changes. It’s a proactive step toward nurturing flourishing plants year after year. So, integrate soil testing as a cornerstone of your gardening routine, reaping the rewards of a vibrant and bountiful garden for future seasons.
While utilizing home soil testing kits can offer valuable insights into your soil’s
condition, it’s important to acknowledge their potential limitations in accuracy. For gardeners seeking a higher level of precision and a more comprehensive analysis, sending a soil sample to a professional laboratory is advisable. Professional soil testing labs utilize advanced equipment and expertise to assess soil composition, nutrient levels, and pH balance. This can prove especially beneficial when fine-tuning your gardening practices for optimal results. While home testing kits offer convenience and quick results, investing in professional testing occasionally can offer a deeper understanding of your soil’s nuances, enabling you to make informed decisions that promote healthier plant growth and a flourishing garden.


