Step into the lush realm of home gardening with our Seed Packets Guide. Uncover the essentials of successful seed starting as we decode the language of Seed Packets. From novice to pro, this comprehensive Seed Guide is your passport to cultivating a vibrant garden. Dive into the world of Garden Seed secrets and elevate your home gardening journey. Let’s sow the seeds of knowledge together for a thriving and green oasis!
Table of Contents
What is a seed packet?
Seed packets are little wonders that unfold a plant’s life story, providing every home gardener with essential insights for nurturing their green companions. Amidst the diversity of companies offering these seed packets, they must uphold quality and transparent marketing practices. Ensuring an accurate portrayal of plant characteristics, these seed packets become indispensable tools for anyone diving into the world of home gardening. Elevate your garden experience with reliable information neatly packed into every seed packet – the key to thriving plants and a flourishing home garden.
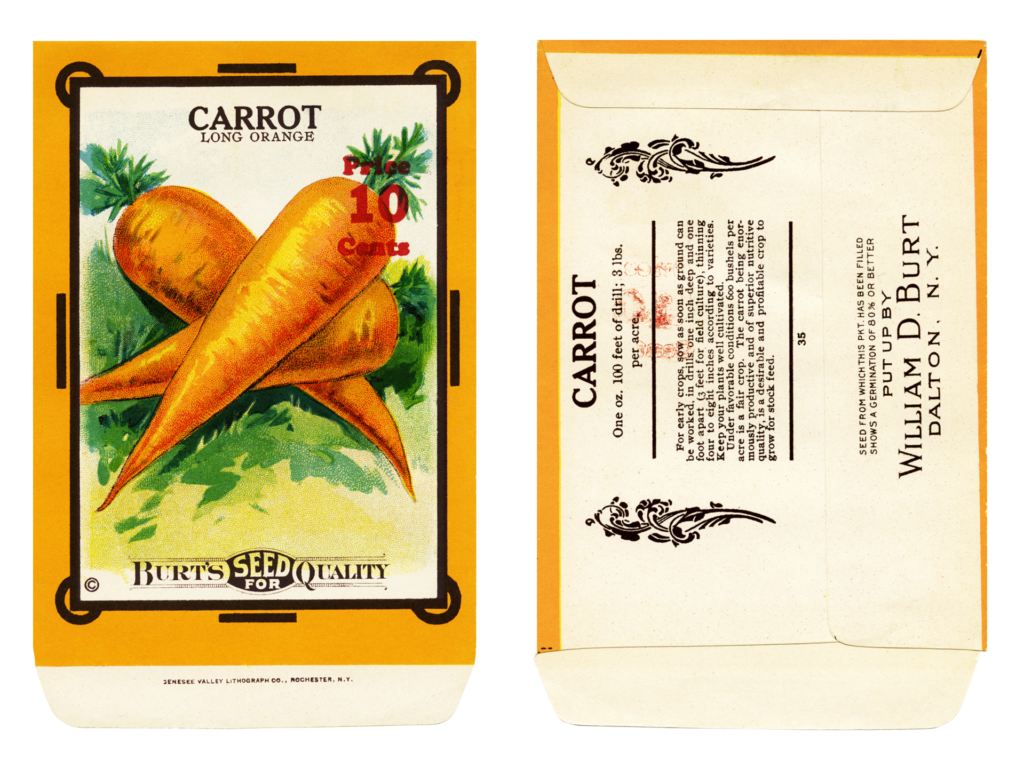
How do you read seed packets?
A typical seed packet serves as your comprehensive guide, delving into four key areas. Firstly, it unveils a detailed description of the seeds on offer, exploring facets like flavor, color, historical significance, and even meals commonly prepared with the resulting produce. Next, it imparts valuable insights into the optimal timing for planting these seeds, ensuring you synchronize with nature’s rhythms.
Moving forward, the seed packet generously shares the secrets of proper seed planting techniques, guiding you through the essential steps for a successful cultivation journey. Lastly, it paints a vivid picture of what to expect from the plant you’re nurturing, setting realistic expectations for your home garden. This holistic approach transforms each seed packet into a treasure trove of knowledge, empowering every gardener with the tools needed to sow, grow, and harvest the fruits of their labor.
How long do seeds last in packets?
Preserving the vitality of vegetable and flower seeds is a breeze, with a shelf life of at least one year without any significant decline in germination rates. With the right care, this storage period can even be extended to an impressive 10 years or more. The key players in maintaining seed longevity are seed moisture and storage temperature, acting as the primary influencers in determining how long seeds can be stored.
By ensuring seeds are stored in conditions that mitigate moisture and maintain an optimal storage temperature, you unlock the potential for a prolonged shelf life. This simple yet crucial approach safeguards the viability of your seeds, offering the flexibility to sow them over an extended period with confidence in their ability to sprout and thrive.
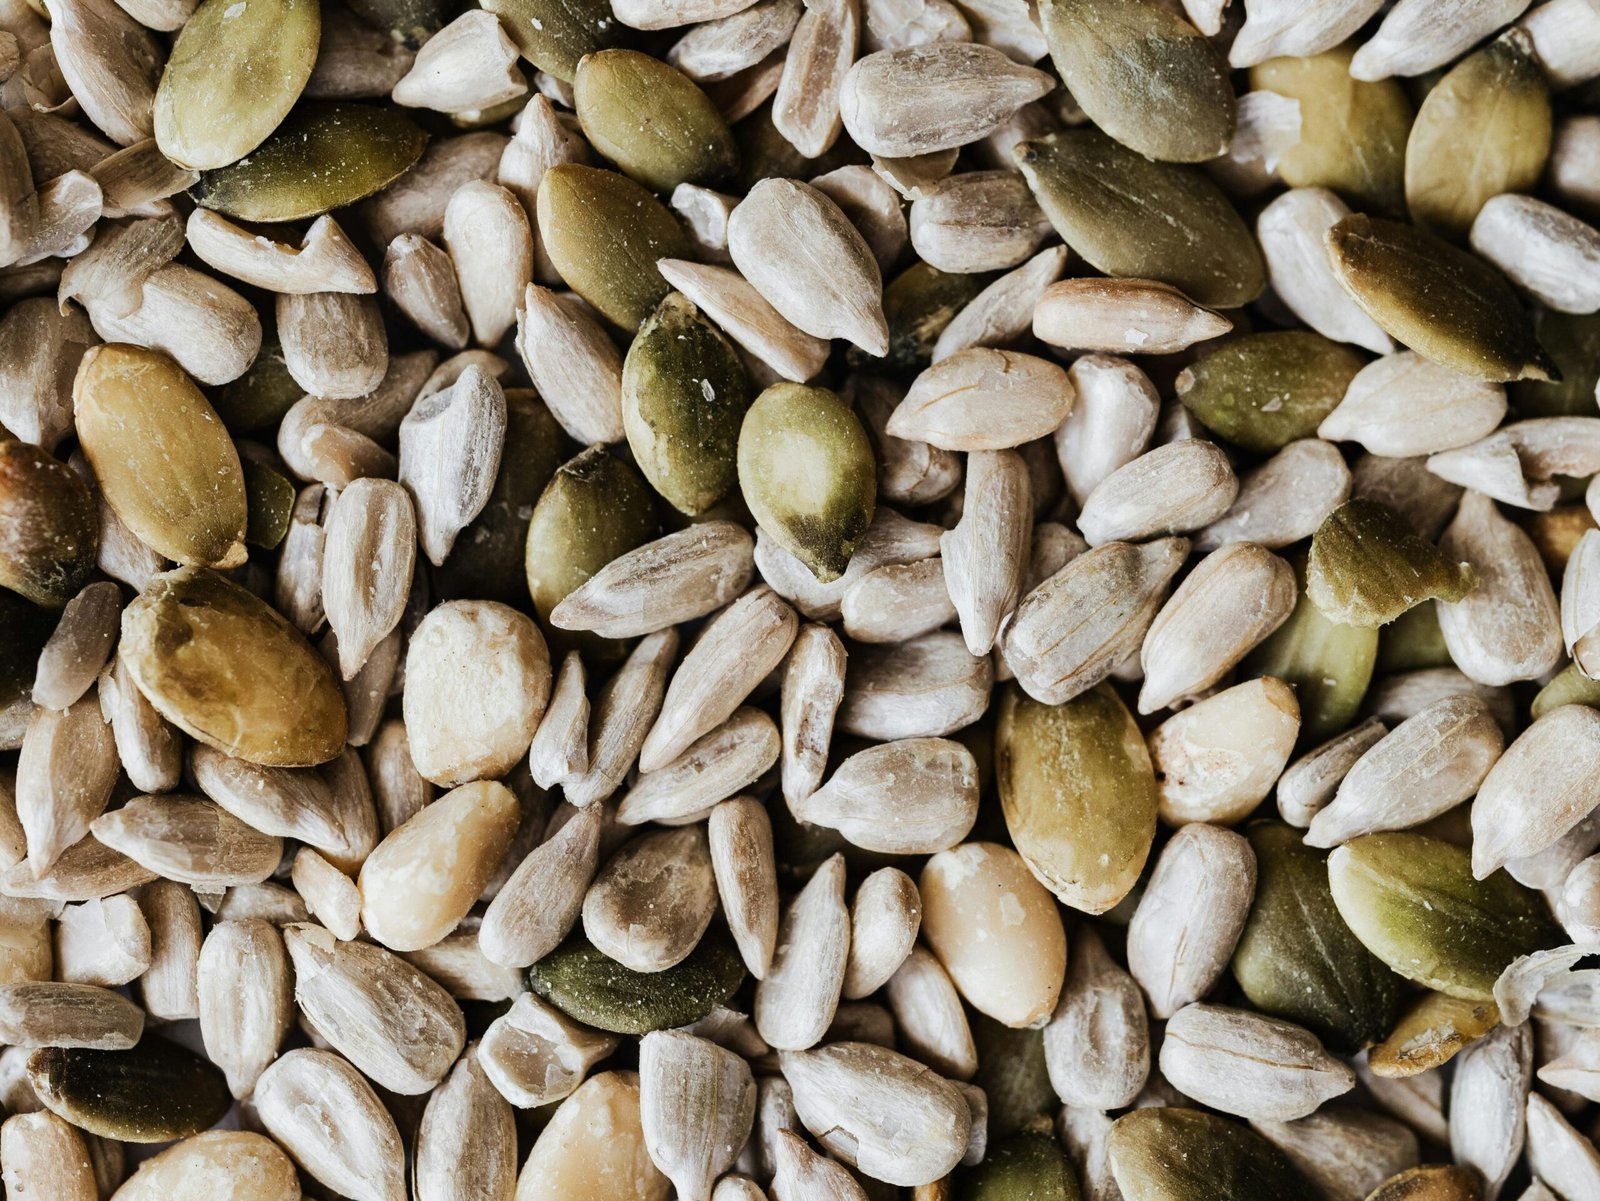
Will 20 year old seeds grow?
The truth about seeds is that they don’t have a strict expiration date. Instead, their viability may diminish over time, especially if stored improperly. Despite the common advice from seed companies to replace seeds every 2-3 years, the reality is that seeds have the potential to endure for decades and still germinate successfully when planted. The key to preserving their viability lies in providing the right storage conditions: a cool, dark, and dry environment. By adhering to these simple guidelines, you can defy conventional wisdom and unlock the enduring potential of your seeds, ensuring they stand ready to sprout whenever you decide to bring them to life in your garden.
Can I freeze seeds?
Ensuring your seeds have undergone thorough drying is the key to their resilience against freezing temperatures. Surprisingly, seeds can withstand freezing without significant damage if they have been adequately dried. The gradual temperature changes outdoors contribute to a reduced risk of condensation, and the winter air itself tends to keep the seeds dry.
The critical factor in preserving seed integrity during freezing is maintaining a dry environment. By prioritizing dryness in the storage space, you provide an extra layer of protection against potential moisture-related issues. So, whether it’s the chill of winter or fluctuating temperatures, the resilience of your seeds is safeguarded as long as you prioritize thorough drying and keep the storage area consistently dry.
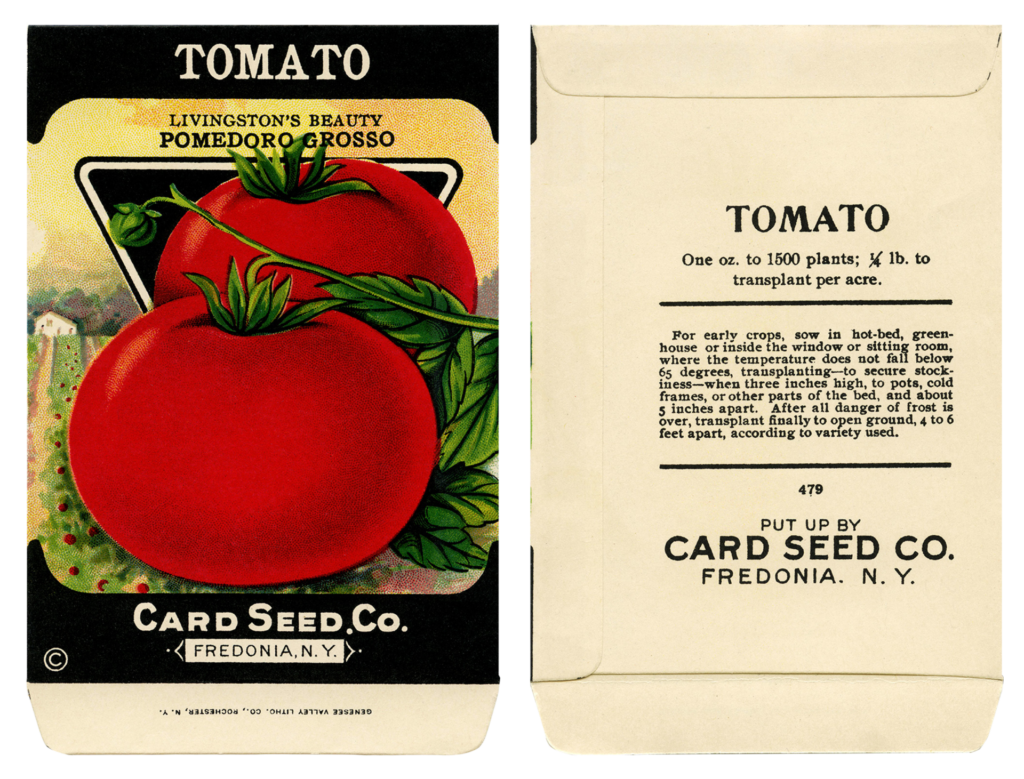
What to Expect on Your Seed Packets
When reading the seed packets, you’ll discover that each seed company adds its unique touch to the information provided. However, there’s a common set of details you can typically expect to find on most seed packets, ensuring you’re well-informed for a successful gardening experience. These include:
- Plant Type and Variety
- Learn about the specific type and variety of the plant you’re cultivating.
- Seed Type
- Understand the category or type of seed you have in hand.
- Days to Harvest
- Get insights into the expected duration it takes for your plants to reach harvest readiness.
- Planting Depth and Spacing
- Discover the optimal depth and spacing required for sowing your seeds, ensuring proper growth.
- Packaging Date
- Be aware of when the seeds were packaged, providing a sense of their freshness.
- Number of Seeds
- Understand the quantity of seeds enclosed in the packet, aiding in planning and planting.
- How to Start Seeds
- Receive guidance on the best practices for initiating the growth of your seeds, ensuring a successful start.
By familiarizing yourself with these details, you equip yourself with the essential knowledge to nurture your seeds from planting to harvest, making the most out of your gardening endeavor.
Types of Seeds to Sow
are broadly categorized into two types based on their preferred growing conditions: warm weather seeds and cold weather seeds.
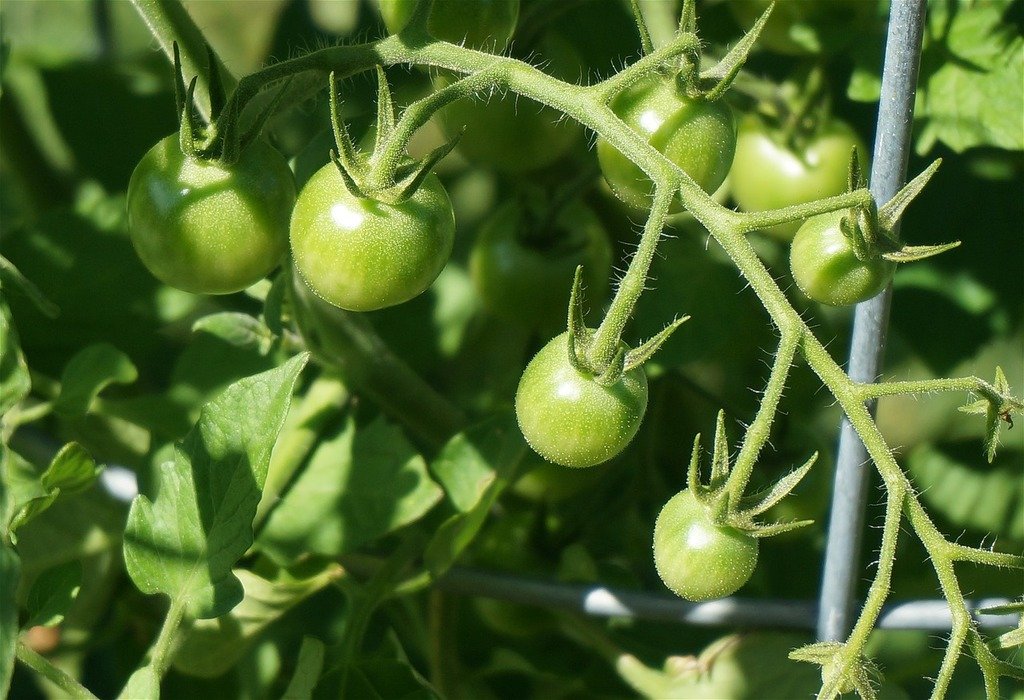
Warm Weather Seeds
As the name suggests, these seeds thrive in a warm growing environment. They demand soil that retains warmth and are sensitive to frost. Among the popular varieties in this category are summer vegetables and flowers, such as cucumbers, tomatoes, squash, beans, tomatillos, eggplant, peppers, basil, coleus, marigolds, zinnias, and nasturtiums.
Cold Weather Seeds
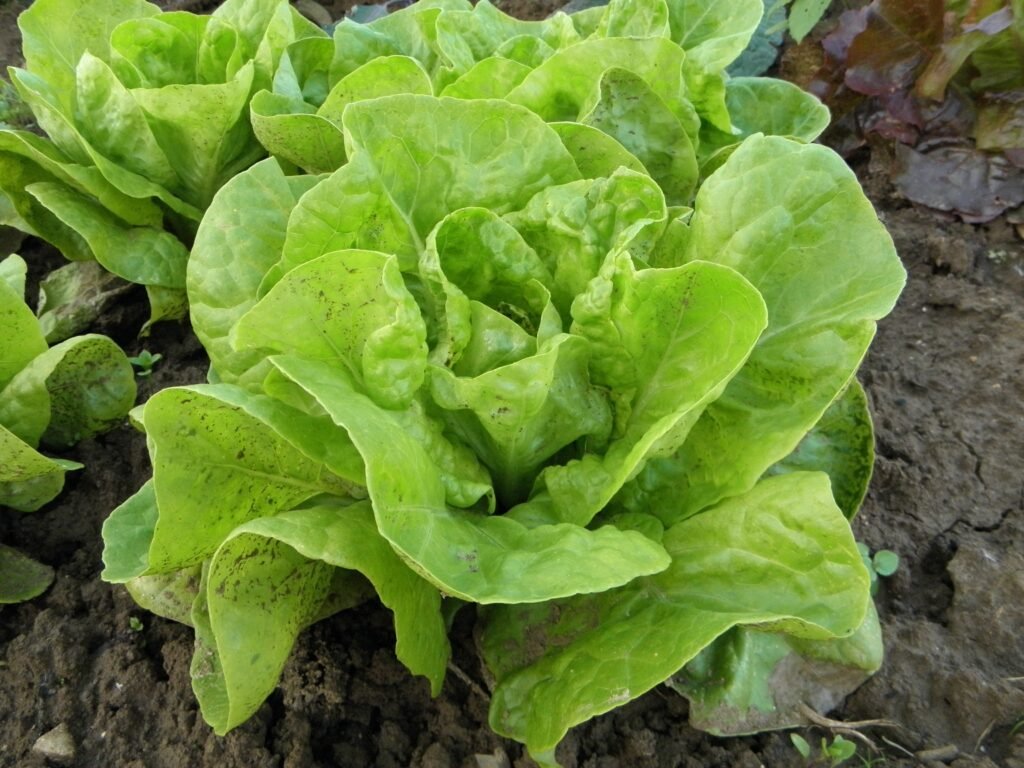
On the other hand, cold weather seeds are known for their hardiness and preference for cooler climates. Many of them can withstand light frost and are best sown as the climate transitions to the cooler months. Common examples of cold weather seeds include lettuce, kale, broccoli, beets, radishes, peas, carrots, spinach, kohlrabi, parsley, cilantro, and cabbage. These seeds often struggle to germinate during warmer seasons, making the cooler months more conducive to their growth.
Understanding the distinct preferences of warm and cold weather seeds allows gardeners to strategically plan their planting schedules, optimizing conditions for successful germination and healthy plant development.
Seed Starting Methods
When it comes to starting seeds, there are two primary methods:
Indoor Seed Starting
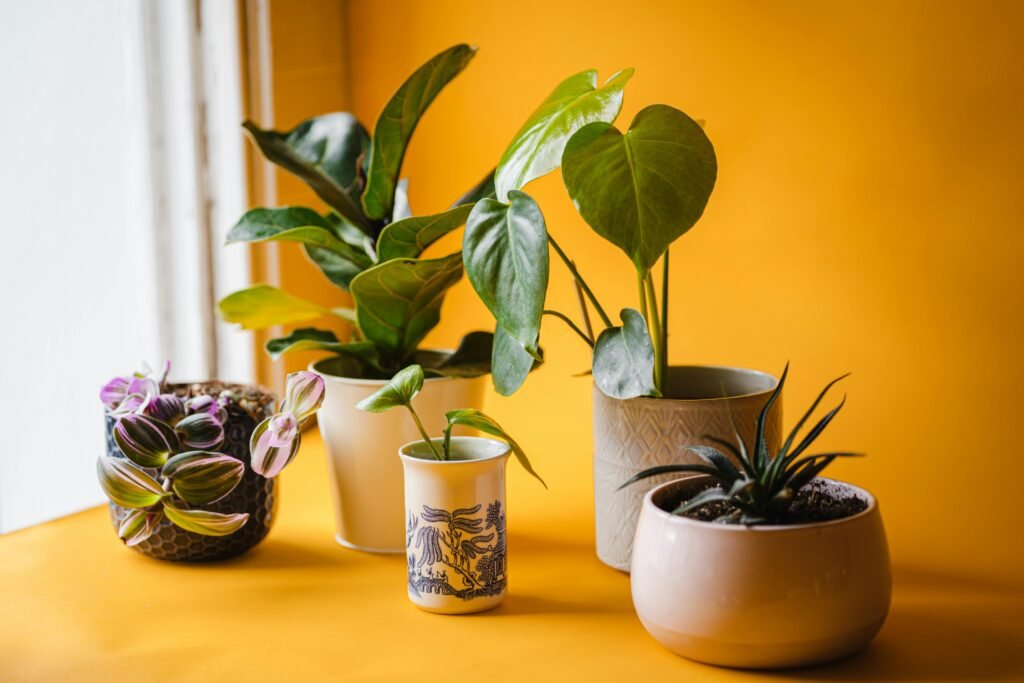
This method involves planting seeds indoors using a growing medium. It’s an excellent choice for growers aiming to kickstart their crops early in the season. The controlled indoor environment shields germinating seeds from unpredictable weather conditions. However, it can be a bit time-consuming and may require extra space in your home. Indoor seed starting is typically ideal for summer crops, slow-growing seeds, and robust vegetables.
Direct Sowing
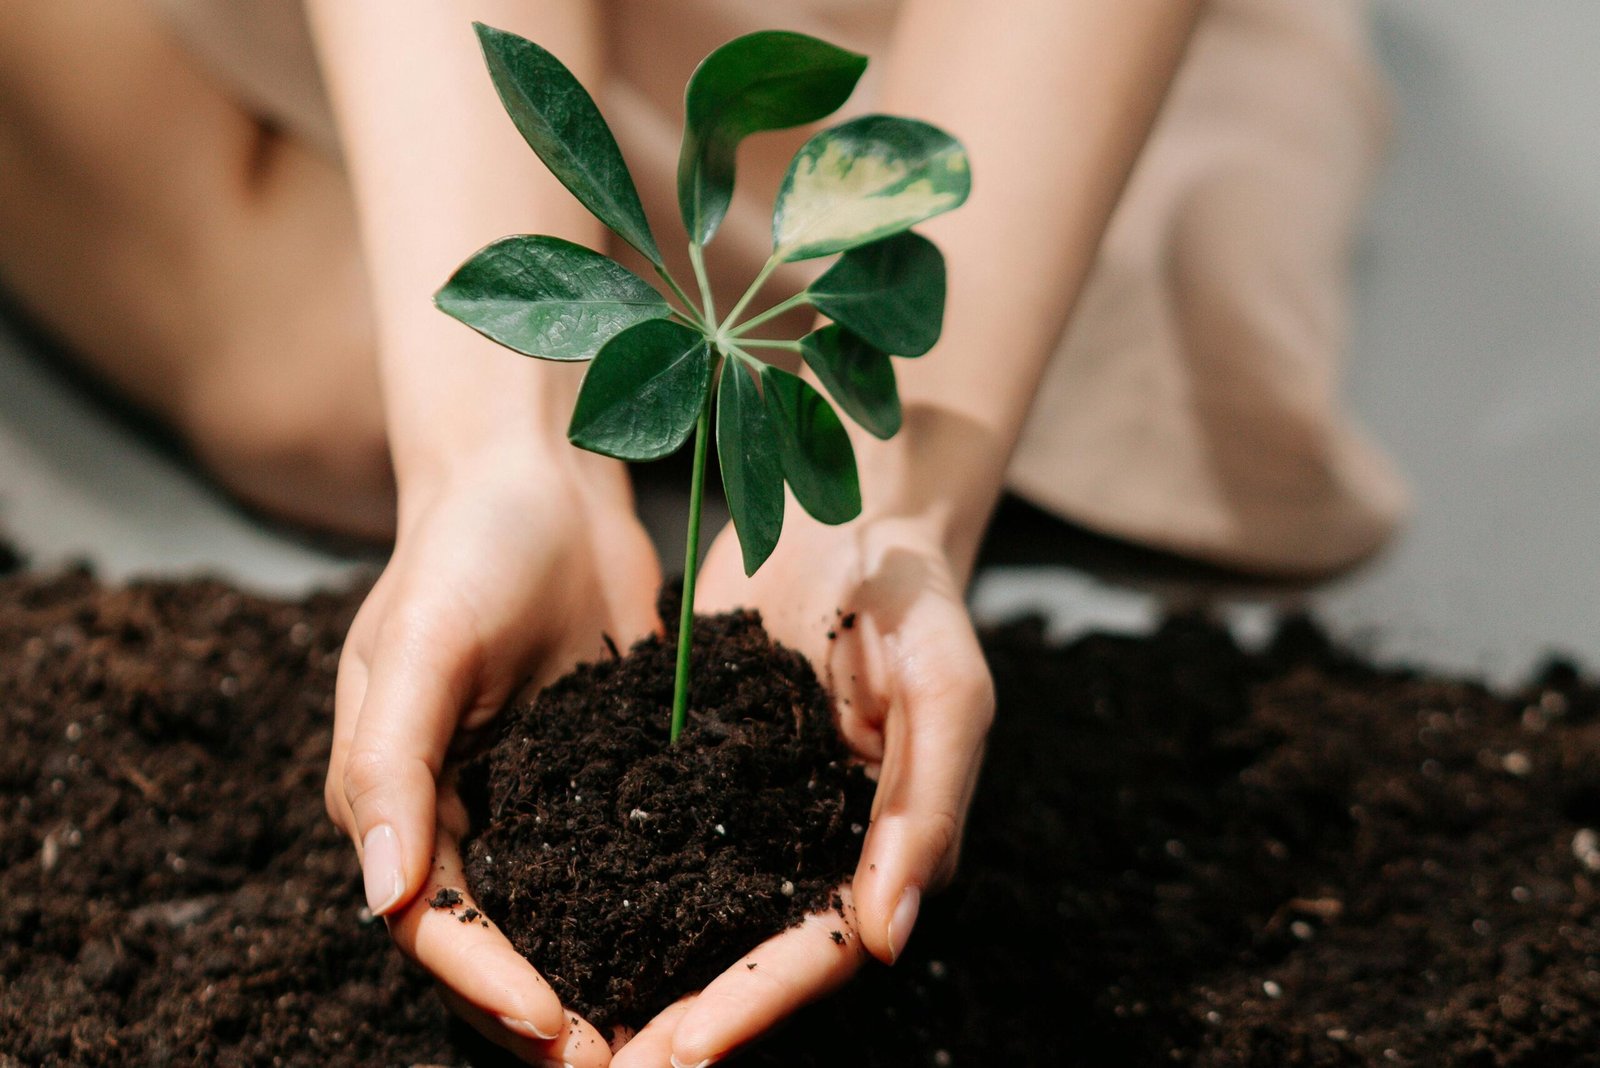
On the other hand, direct sowing entails planting seeds directly into the soil. This method is straightforward, as the seeds don’t demand constant monitoring. Just plant them in the soil, and you’re done—no need to worry about lighting, transplanting, or potting. However, since the seeds are exposed to natural elements, it’s crucial to plant them at the right time of the season. Additionally, the soil must be prepared to promote successful germination. Direct sowing is best suited for cold-hardy seeds, fast-growing warm weather crops, and plants that don’t fare well with transplantation.
Choosing between indoor seed starting and direct sowing depends on factors like the type of crop, your preferred level of involvement, and the local climate. Both methods have their advantages, offering flexibility for different gardening preferences and goals.
Containers for Seed Starting
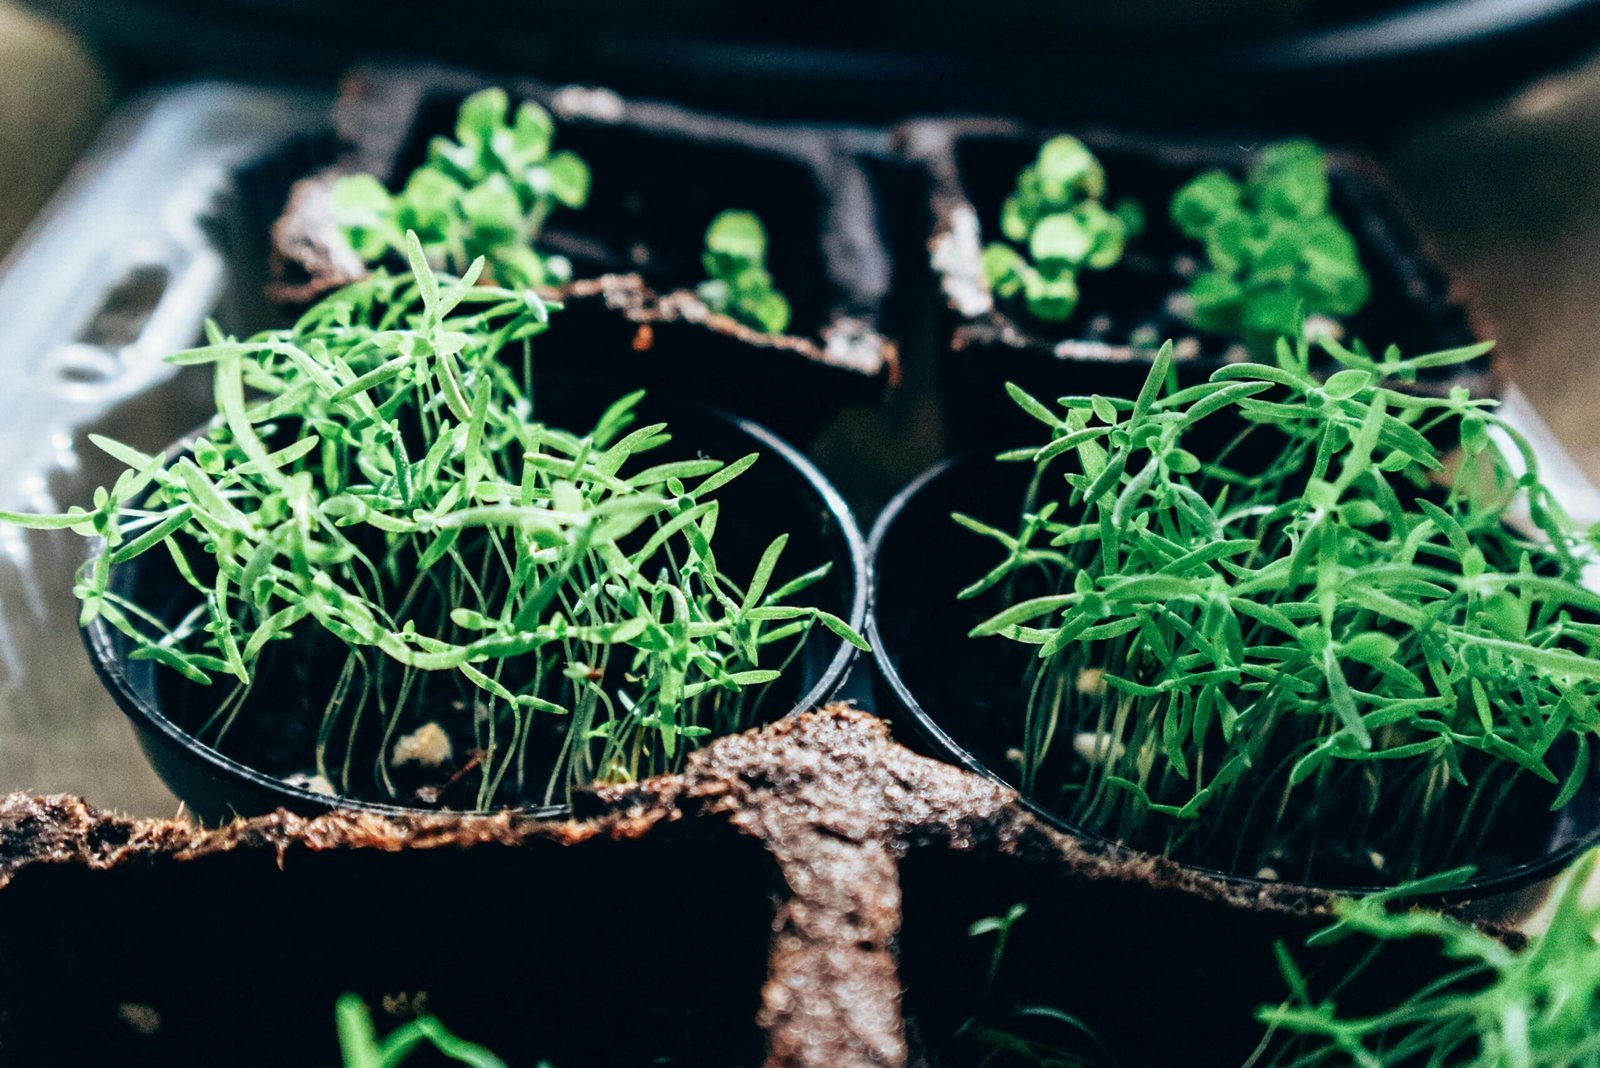
When it comes to seed starting, the choice of containers and growing mediums plays a crucial role in the success of your gardening venture. Here are various options to consider:
Cell Packs
- Compact, lightweight, and portable seed containers.
- Typically come in 4 to 6 cells, but some have more sections for growing seeds.
- Perfect for small-scale home environments.
- Can be joined together to fit into a plastic flat.
Seedling Flats
- High-density system allowing for more seedlings in a small container.
- Comes with a tray to hold excess water and prevent soil drainage.
- Best used in nursery or greenhouse applications, not typically for small-scale home environments.
Soil Blockers
- Compressed seed starting soil in block or cube form.
- Seeds are planted in the middle of a soil blocker, which can be transplanted directly into the ground.
- Come in different sizes suitable for various greenhouse scales.
- Require a special mat to protect the soil from moisture loss.
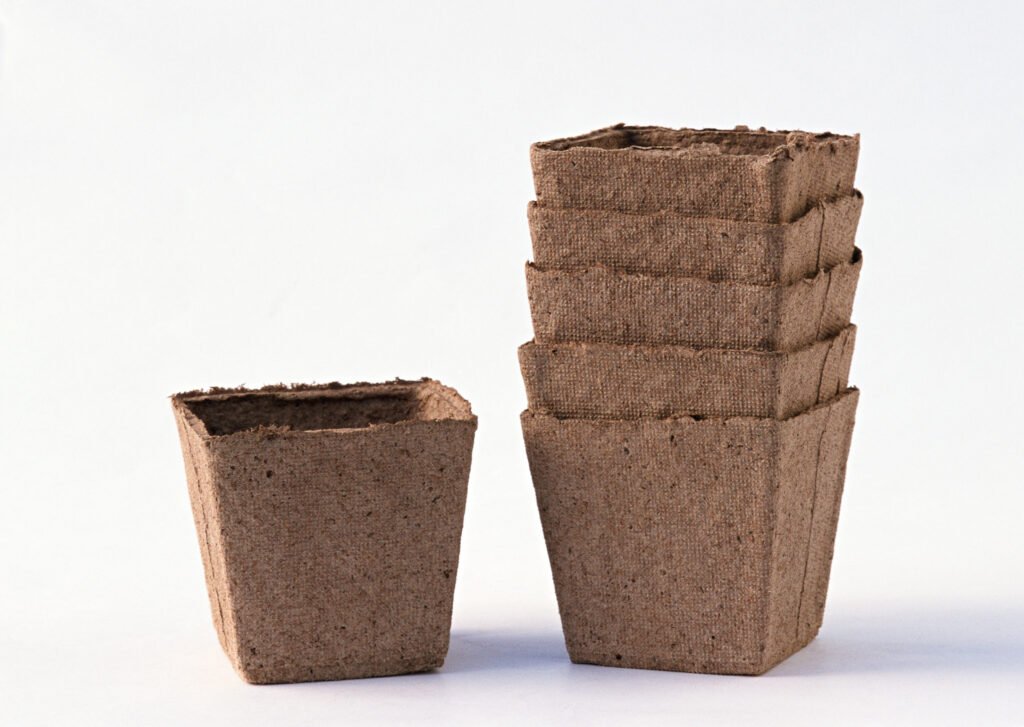
Biodegradable Pots
- Made from materials like cardboard pulp, dried coconut husks, paper, or even cow manure (cow pots).
- Break down into the ground, minimizing transplanting shock.
- Available in different sizes for diverse growing environments.
- Eco-friendly but may be more expensive compared to other options.
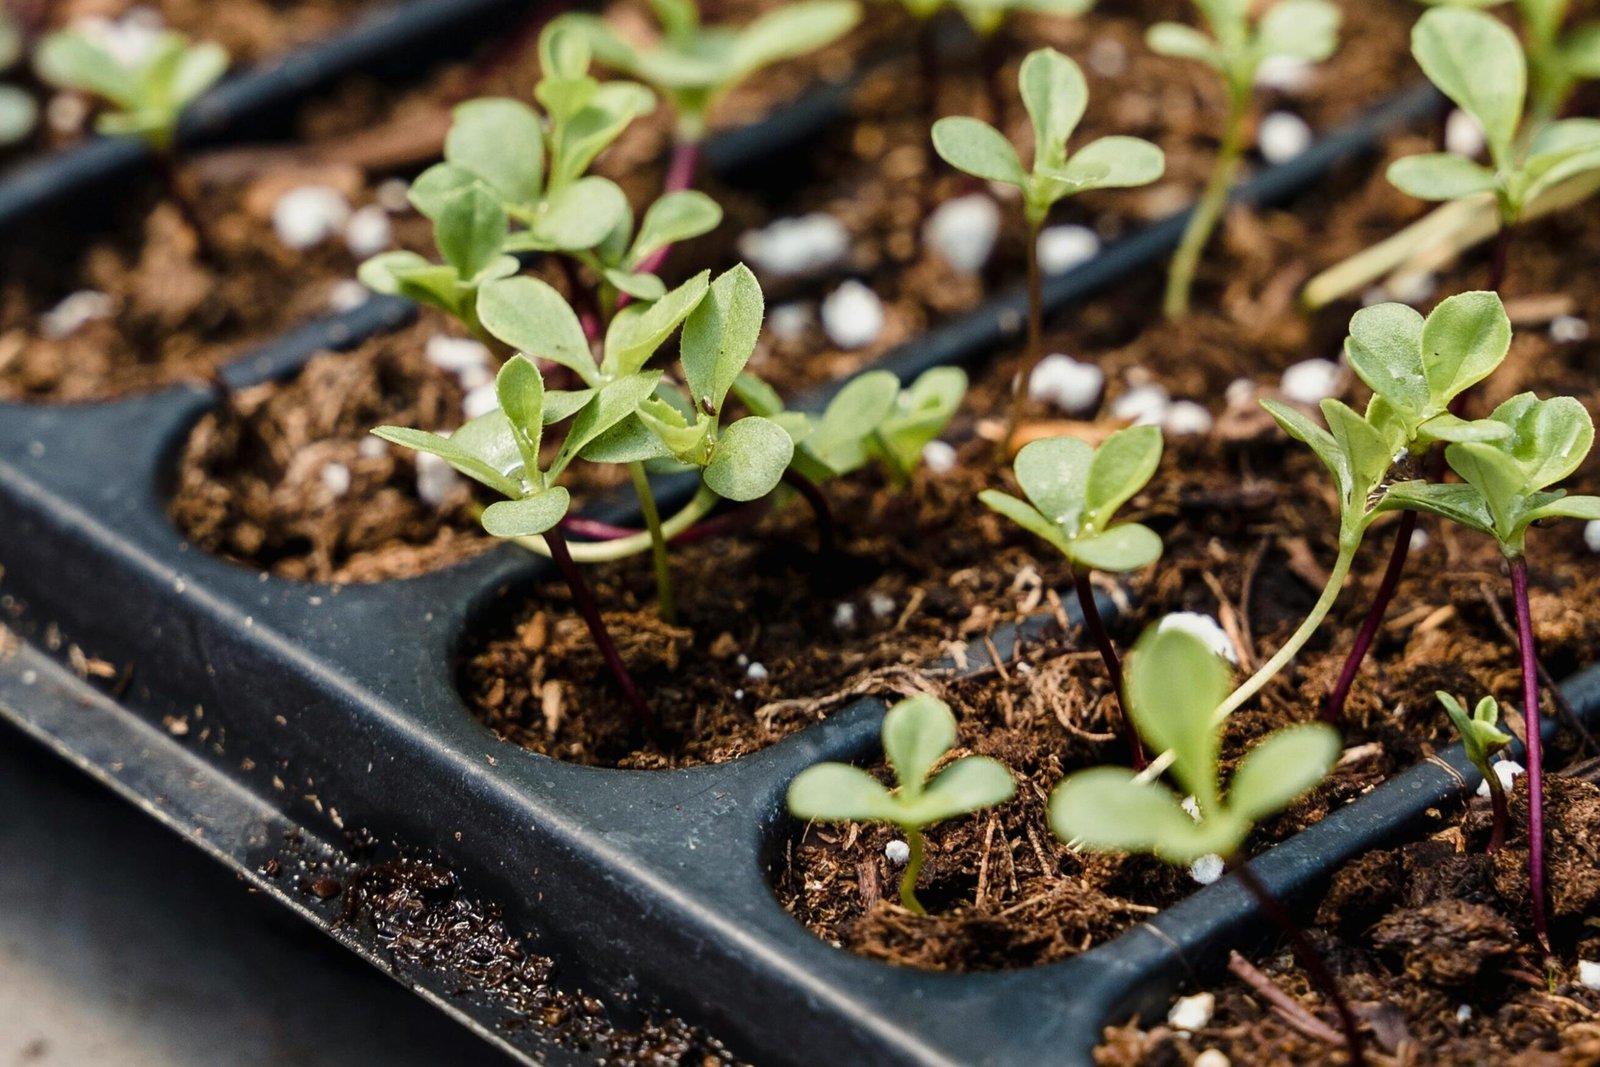
Seedling Pots
- Compact plastic pots that come in different sizes.
- Versatile, allowing customization of pot size and shape according to your needs.
- Suitable for various plant sizes and quantities.
- Can be placed on a water mat to regulate soil moisture.
Choosing the right combination of containers and growing mediums depends on factors such as the scale of your gardening project, the type of plants you’re cultivating, and your environmental preferences. Each option comes with its unique advantages, catering to different needs and gardening styles.
Considerations for Successful Seed Planting in Your Home Garden
It’s essential to consider some crucial factors to ensure a thriving garden
The Importance of Seed Quality
The quality of the seeds you choose plays a pivotal role in the success of your gardening venture. Opt for high-quality seeds and varieties that are well-suited to your local climate. These seeds not only germinate faster but also have a higher rate of success in developing into robust seedlings, ultimately leading to a bountiful yield. Ensure you purchase seeds from reputable suppliers who conduct their own germination tests, providing you with the assurance of top-notch quality.
Adaptation to Your Region’s Climate
To enhance the chances of success, select seeds that are either native to your region or have proven adaptability to the local weather conditions. Such seeds are more likely to thrive as they have already acclimated to the specific climate of your area. When choosing seeds, prioritize suppliers who conduct germination tests and field trials, offering valuable insights to guide you in making the right selection for your garden.
Mastering the Art of Timing
Timing is a critical factor in the seed starting process. Planting seeds too early can result in weak, leggy seedlings susceptible to frost, while starting too late may hinder their maturity before weather changes. Refer to the guidelines on the seed packets for precise timing. Generally, indoor seed starting commences 6 to 8 weeks before the last frost date in spring, while direct sowing is recommended 3 to 4 weeks before the last frost date. As long as the ground is workable, you can confidently initiate the planting process.
By carefully considering these factors, you set the foundation for a successful and rewarding gardening experience, nurturing your seeds into thriving plants for a vibrant home garden.
Step by Step Guide
Follow these simple yet effective steps for a flourishing garden:
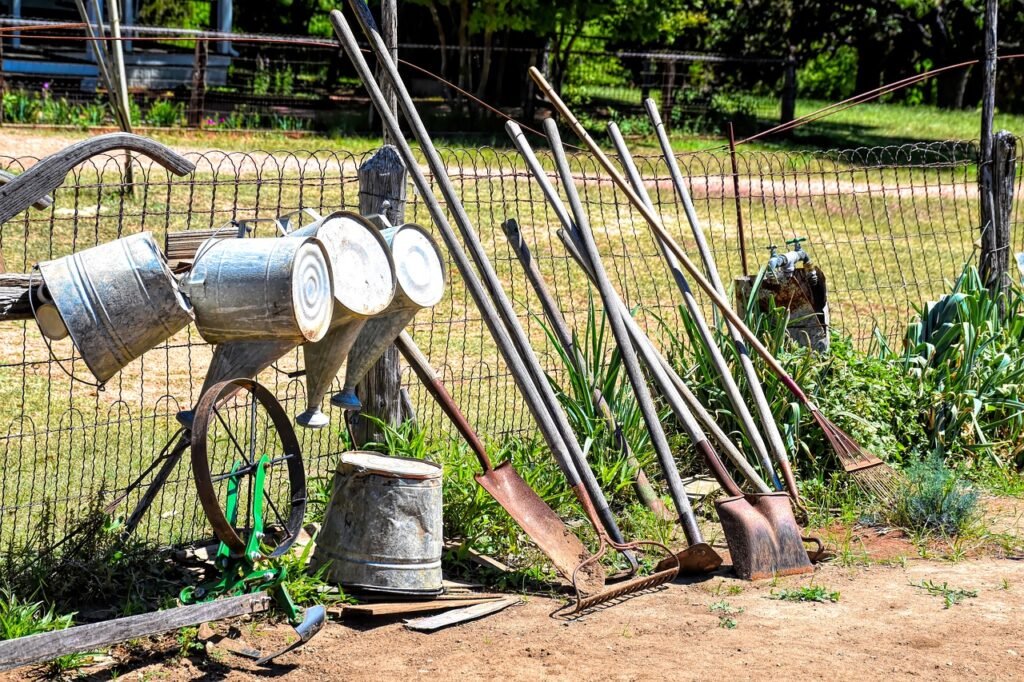
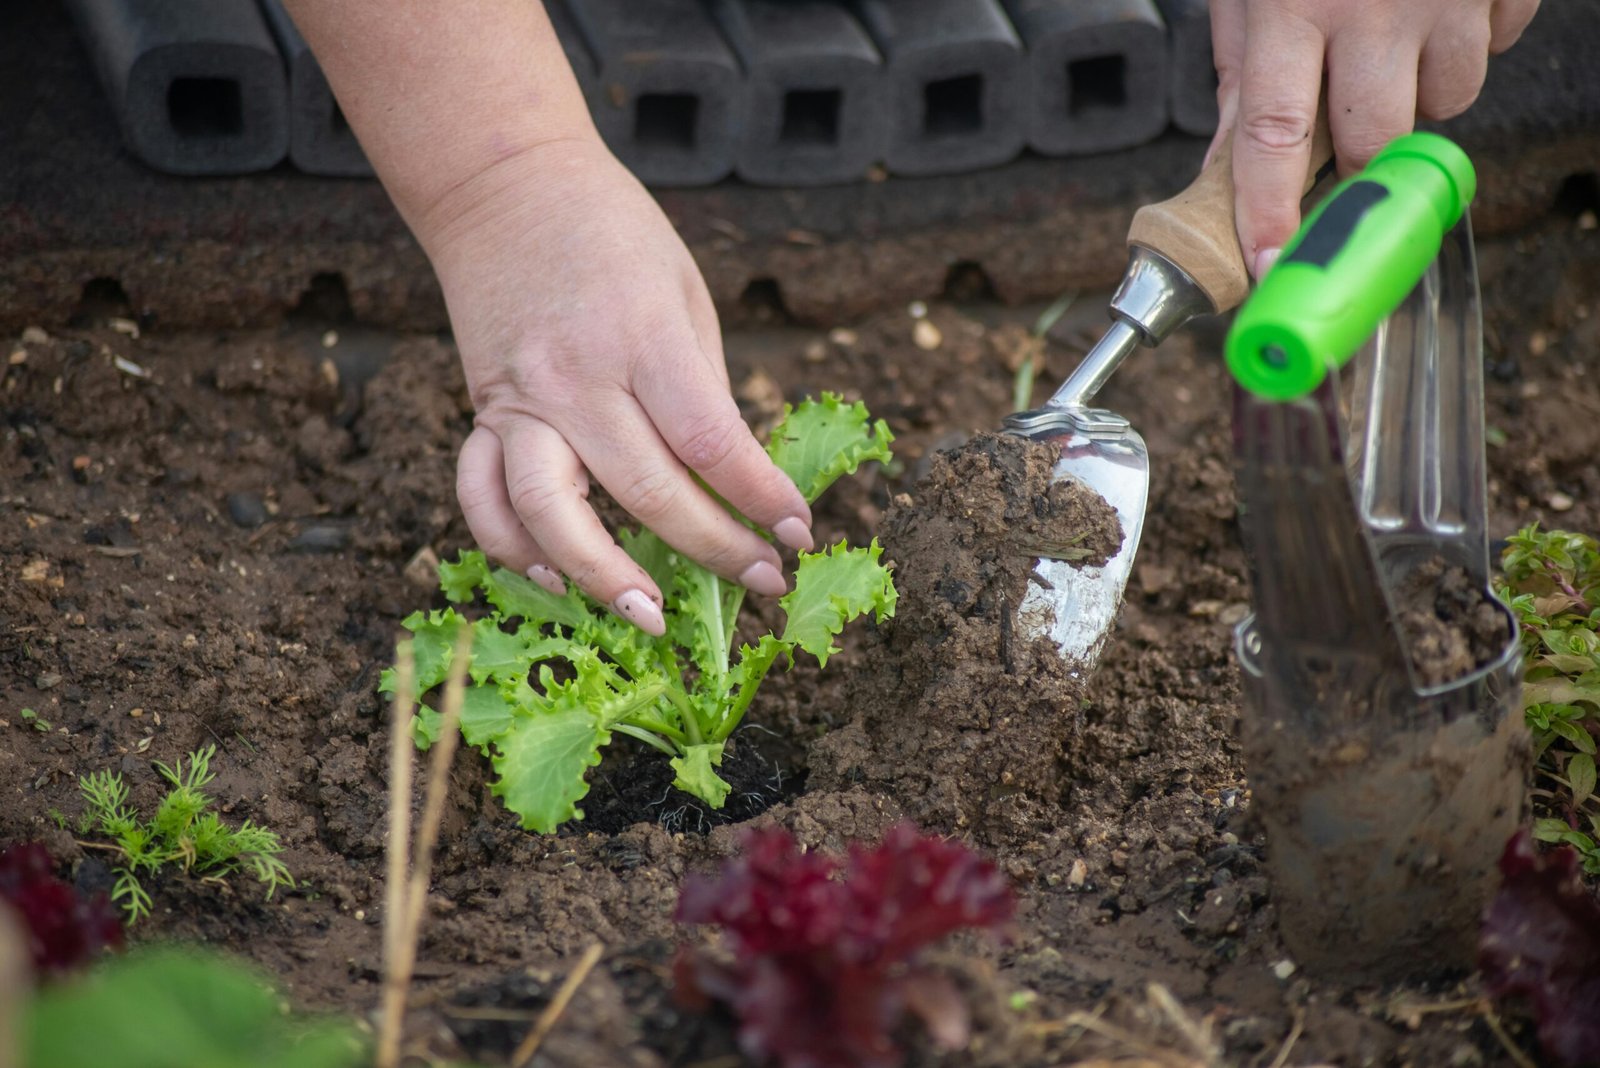
Choosing the Right Tools
To initiate the process of seed starting successfully, the first step is to carefully select the essential tools required. This involves making thoughtful choices regarding the components that contribute to effective seed germination. This includes the careful selection of containers, conditioning the soil to support optimal plant growth, and fostering an environment conducive to quicker seed germination.
A crucial aspect is the choice of a clean seed-starting container, ideally one that is approximately 2 to 3 inches deep and equipped with drainage holes. There are various seed-starting containers available, as previously outlined, and the selection should align with your specific needs and budget considerations. Alternatively, you have the option to craft your own seed-starting containers, utilizing items such as yogurt cups, newspaper, fruit peels, or eggshells. This not only allows for cost savings but also contributes to reducing your carbon footprint.
While seed-starting kits are available for purchase, it is advisable to lean towards the eco-friendly route whenever possible. When deciding on the appropriate containers for your seeds, keep in mind that if you initially use small containers, transplanting the seedlings into larger pots will be necessary as they continue to grow. This consideration ensures that the chosen containers can accommodate the evolving needs of your burgeoning plants throughout their early stages of development.
Creating the Ideal Seed Starting Mix
The key to successful seed starting lies in preparing an optimal seed starting mix. Begin by sowing the seeds in a sterile, bagged seed starting mix that is typically loose and slightly moist. You have the option to purchase a pre-made seed starting mix or craft your own using organic compost. It’s essential to avoid using garden soil, as plant seeds thrive in nutrient-dense soil.
Before adding the mix to the seed-starting container, ensure it is in the right condition. If the potting mix is dry, take the necessary step to moisten it with warm water. This ensures an ideal environment for the seeds to germinate and begin their growth journey.
Refer to the back of the seed packet for crucial information on the recommended depth for sowing seeds. As a general guideline, covering the seeds with soil equal to about three times their thickness is often suitable. However, it’s important to note that different seeds have varied growing needs. For example, lettuce seeds and snapdragons may prefer to rest on the soil surface rather than being completely buried. This allows for maximum exposure to light, promoting healthy development.
Once the seeds are sown, provide a gentle touch by giving the soil a light spritz of water. This additional moisture kickstarts the germination process and ensures that the seeds are appropriately settled in their growing environment
Caring for Growing Seeds
As your seeds germinate and sprout, it’s crucial to nurture them with careful attention and a balanced approach. Here’s a comprehensive guide on how to foster the growth of your seedlings:
Watering
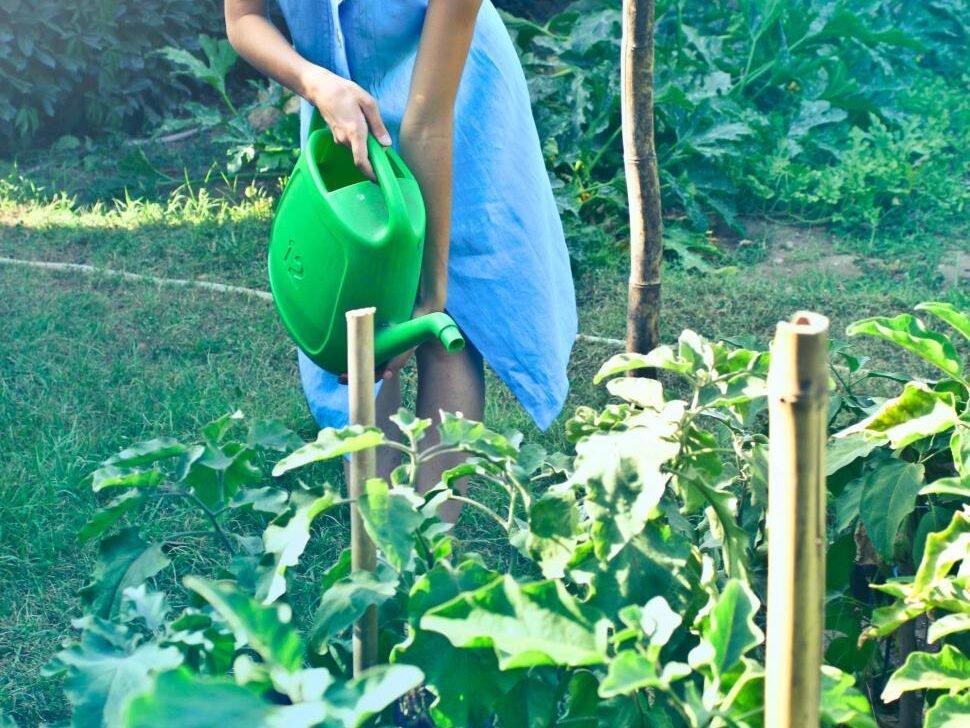
- Water the seeds with care to prevent drowning. Use room temperature water, as seedlings are temperature-sensitive.
- Ensure the soil remains consistently moist but not soggy or wet.
- Once germination occurs and sprouts appear, water the seedlings carefully to avoid moisture reaching the leaves, which can lead to rot or diseases.
- Maintain consistent soil moisture, considering the use of plant covers or plastic wrap if needed.
Temperature Management
- Keep soil temperature stable at a constant 78°F, while air temperature should remain below 70°F.
- Be mindful of sunlight exposure, as it influences both air and soil temperature.
- If seedlings lack adequate light and start bending towards the light source, relocate them to a sunnier spot.
- Regulate heat and light using tools like heat maps and artificial lights.
Lighting and Air Circulation
- Provide seedlings with 14 to 16 hours of direct sunlight, adjusting their location for maximum exposure.
- Watch for signs of inadequate light, such as seedlings bending towards the light source.
- Utilize heat maps, artificial lights, and fans to regulate heat, light, and ensure steady air movement.
- Proper air circulation inhibits disease spread and fosters stronger, more resilient stems.
Fertilization
- Apply fertilizer once seedlings develop their second set of true leaves.
- Use a half-strength solution on a weekly basis during the initial weeks.
- After the 4th week, switch to a full-strength fertilizer every other week until the seedlings are ready for transplanting.
Protection from Moisture and Humidity
- Guard against excessive moisture and humidity by adding a half-inch layer of light-colored sphagnum moss on top of the seed starting mix.
- This protective layer helps prevent damping off and other fungal diseases, ensuring the health of your growing seedlings.
- By following these nurturing practices, you’ll provide your seedlings with an optimal environment for robust growth, setting the stage for a successful transition to the next stage of their development.
Ensuring Successful Transplantation: The Hardening Off Process
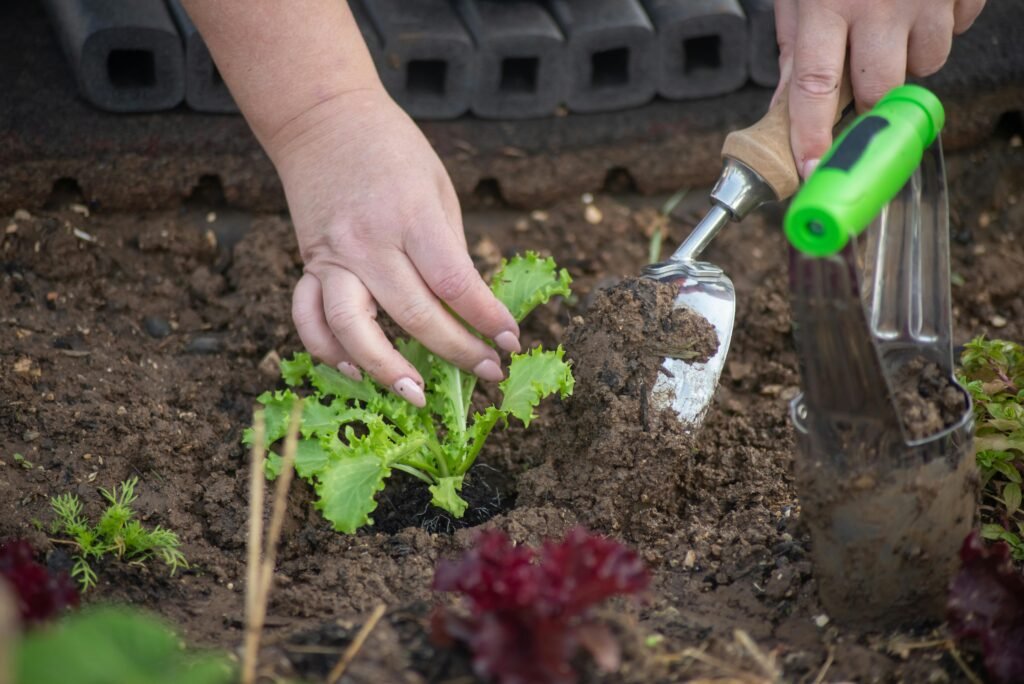
Transplanting seedlings into their final outdoor home is a critical step that requires a thoughtful and gradual approach known as ‘hardening off.’ Skipping this process may jeopardize the seedlings’ ability to adapt swiftly to the more challenging outdoor conditions, potentially resulting in their demise.
Hardening Off Steps
- Gradual Exposure: Begin by gradually exposing the seedlings to the outdoors. Choose a sheltered or shady spot in the garden, such as under a tree or near bushes.
- Incremental Outdoor Time: Initially, allow the seedlings to be exposed to the elements for 3 to 4 hours. Over the next few days, gradually increase the time they spend outdoors to 1 to 2 hours.
- Nighttime Protection: To ensure a smooth transition, bring the plants indoors every night during the hardening-off period.
- Extended Process: Repeat this gradual exposure process for a week or two. By day 10, the seedlings should be sufficiently acclimatized and ready for transplanting.
Using a Cold Frame
Alternatively, you can employ a cold frame to prepare the seedlings for transplanting:
- Timing: Move the plants to a cold frame approximately 7 to 10 days before the planned transplanting date.
- Temperature Considerations: Ensure that the temperature inside the cold frame remains within a range of 50 to 80 degrees Fahrenheit.
- Daily Monitoring: Check the seedlings daily, ensuring that the soil remains consistently moist within the cold frame.
- Transplant Readiness: Within the 7 to 10 day timeframe, the seedlings should be adequately prepared for transplantation.
By patiently adhering to the hardening off process, you provide your seedlings with the necessary adjustment period, increasing their resilience and ensuring a successful transition to their new outdoor environment. Whether opting for gradual exposure or utilizing a cold frame, this method safeguards the health and vitality of your growing plants.
Mastering the art of seed starting is a rewarding endeavor that can transform your home gardening experience. This Seed Starting 101 guide has equipped you with valuable insights into understanding seed packets, emphasizing the importance of quality seeds and their adaptation to regional climates. The journey begins with selecting the right tools, from eco-friendly containers to nutrient-rich seed-starting mixes. As you progress through nurturing your seeds, maintaining optimal conditions such as consistent moisture, temperature, and lighting becomes paramount. The indispensable ‘hardening off’ process ensures a seamless transition for your seedlings into the great outdoors.
This comprehensive guide empowers you to embark on a successful seed-starting venture. From the initial preparation of seed-starting tools to the careful nurturing of seedlings, every step contributes to the ultimate goal of a thriving garden. Armed with this knowledge, you are well-prepared to cultivate a lush and vibrant garden, starting with the humble yet potent seed packets that hold the promise of a bountiful harvest. Happy gardening!
