Welcome to our comprehensive DIY gardening guide, where we delve into sustainable gardening, focusing on creating your seed envelopes. If you’re an avid gardener or someone taking their first steps into planting, our step-by-step tutorial on crafting seed envelopes is perfect.
Seed packets are essential for every gardener, and our eco-friendly approach to crafting these seed envelopes is both practical and rewarding. Embracing the DIY gardening trend adds a personalized touch to your gardening experience and contributes to a greener planet.
In this guide, we’ll walk you through the simple yet artful process of making seed envelopes from paper. This hands-on project combines your love for gardening with creativity, ensuring your seeds are stored securely and stylishly. From choosing the right paper to designing your envelopes and safely keeping your seeds, we’ve got you covered.
Join us as we transform ordinary paper into functional and aesthetically pleasing seed envelopes. Let’s nurture your gardening passion while nurturing the environment—welcome to the world of DIY gardening with our engaging seed envelope crafting tutorial.
Table of Contents
What are seed envelopes?
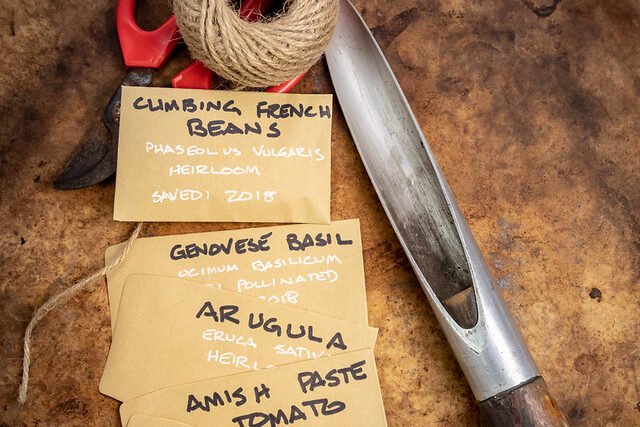
Seed envelopes, or seed packets, are small containers made from paper or similar materials designed to store and protect seeds. These envelopes play a crucial role in gardening and agriculture, ensuring the safekeeping of seeds for future planting seasons. Seed envelopes are typically labeled with important information such as the type of seeds enclosed, planting instructions, and the collection date.
They are a convenient means to organize and store various seeds, from flowers and herbs to vegetables and fruits. Whether you’re a seasoned gardener or a beginner, understanding the significance of seed envelopes is critical to maintaining the viability and quality of your seeds, contributing to successful and bountiful harvests in your garden.
What size is a seed packet envelope?
Typically measuring 3.25 x 4.5 inches, which aligns with the standard seed packet size, these envelopes feature a convenient tear-off strip for effortless sealing.
How to use seed packets?
Position the open end of the packet approximately 1-2 inches (25-50mm) above the compost surface, allowing the seeds to drop precisely where intended. While gently tapping, gradually glide the packet across the container’s entire surface to ensure an even and uniform distribution of all the seeds.
HOW TO MAKE YOUR SEED PACKET ENVELOPES
These are the simple steps to make your seed packets.
Step 1: Measuring and Cutting the Paper
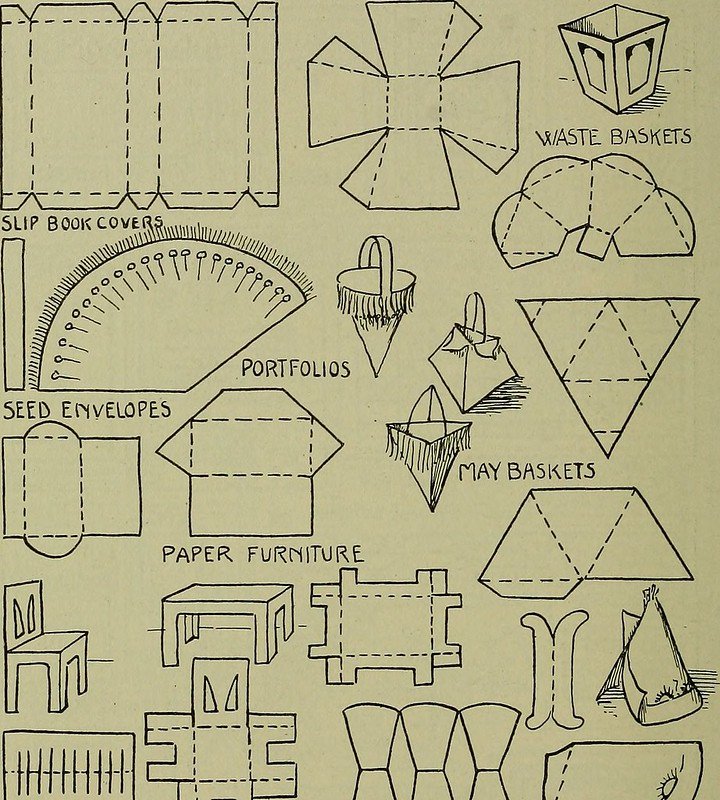
Begin by measuring and precisely cutting the paper into neat 4″ x 4″ squares. While scissors can undoubtedly get the job done, if you aim for efficiency and accuracy, consider using a paper cutter—especially if you’re planning to craft a batch of these charming seed envelopes. Using a paper cutter ensures straight edges and allows you to cut multiple pieces simultaneously, streamlining the process.
Keep in mind that paper thickness matters. Opt for a sturdy paper option to prevent the envelopes from breaking open easily. While thin materials like newsprint, magazine pages, and wrapping paper might not provide the desired durability, choosing a more robust paper type is essential to safeguard the enclosed seeds.
Crafting your seed envelopes is a creative and rewarding endeavor. Follow these steps to create the foundational envelopes for your seeds, setting the stage for a successful and aesthetically pleasing gardening experience.
Step 2: Folding the Paper Square
Now, fold the paper square in half diagonally, from one corner to the opposite corner. This step is crucial, so be patient and take your time to ensure the edges align perfectly, resulting in a neat and precise fold. Maintaining straight edges is critical to creating a polished seed envelope that looks great and functions effectively for seed storage.
Step 3: Crafting the Envelope Shape
Next, let’s shape the paper into an envelope. Take the two bottom corners of the folded paper and carefully fold them inwards, overlapping them evenly. This folding technique will give your seed envelope a secure and neat bottom, ensuring the seeds remain safely enclosed. Remember to maintain an even overlap for a well-balanced and visually pleasing outcome. Each fold brings you one step closer to creating a functional and charming homemade seed envelope.
Step 4: Securing the Envelope
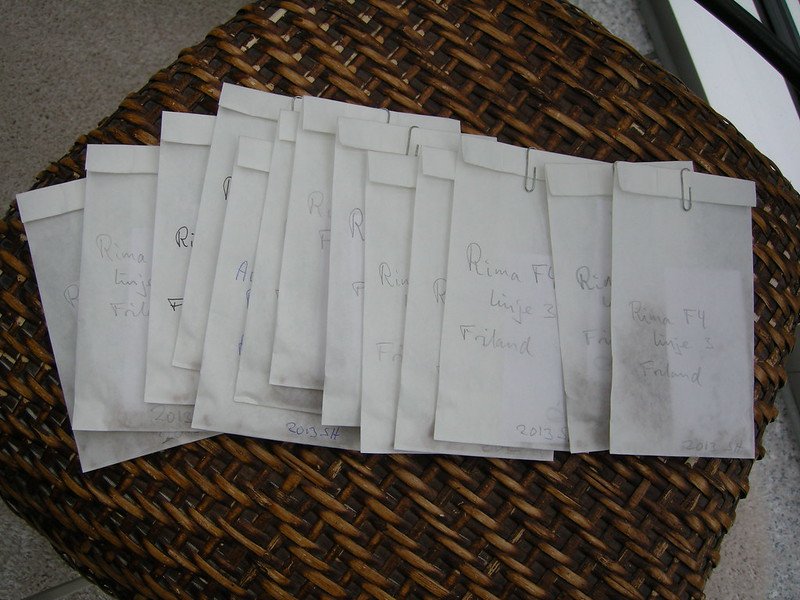
Now, let’s ensure your DIY seed envelope stays securely closed. Take one of the flaps and tuck its corner into the fold of the other flap. This simple yet effective tucking method provides a reliable hold for your seed envelope. To achieve a snug closure, press down firmly to create well-defined creases.
Remember, the creases’ quality directly influences the seal’s tightness. With a tight hold, you’ll safeguard your seeds and maintain their viability until it’s time to plant them. This step wraps up the process, leaving you with beautifully crafted seed envelopes ready to house the promise of future blooms and harvests.
How to customise your DIY Seed Envelopes?
This is your chance to let your creativity shine and design packets that reflect your unique style.
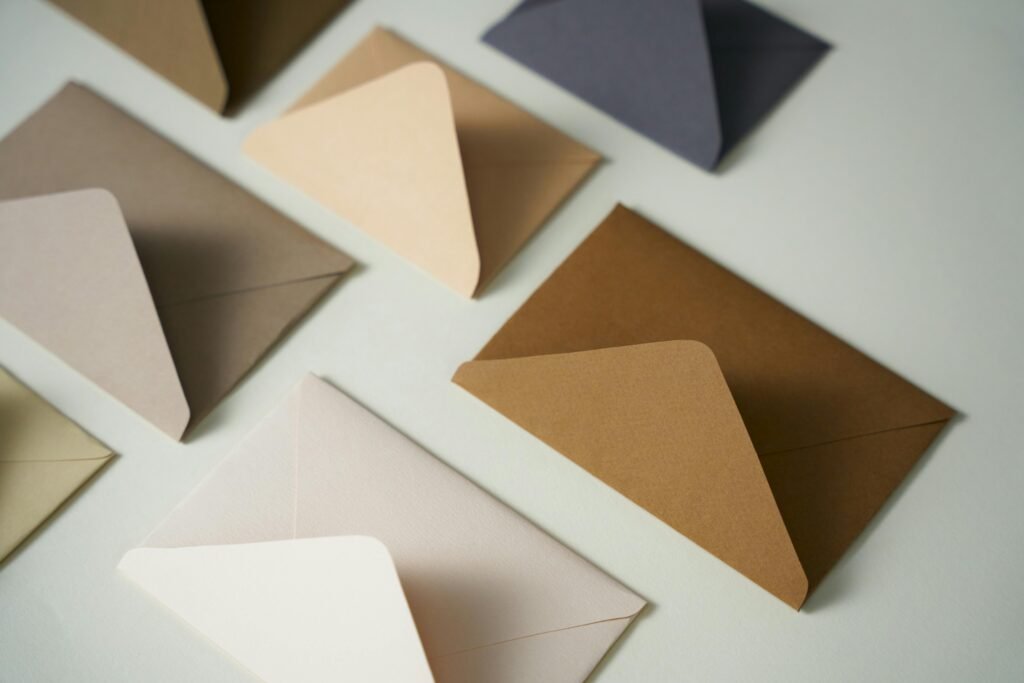
Consider using stickers, stencils, or stamps to craft intricate designs for an extra touch of elegance. Alternatively, you can opt for a more straightforward approach, like writing directly onto colored envelopes, providing a personal touch as I did.
If you plan to decorate or write on plain envelopes, it’s best to do so before filling them with seeds. This ensures a smoother process and a polished outcome.
Utilize a pen or get playful with vibrant markers to label the front of the envelope with the plant’s name. For a more formal touch, embrace printable labels using your computer.
Pay attention to the importance of including your name and the collection date. It’s helpful to jot down this information on the back of the seed envelope, enhancing clarity.
With your DIY seed packets labeled or adorned to your liking, it’s time to start filling them up. If you’re dealing with tiny seeds, consider folding them into a small piece of paper or tissue before placing them inside the envelope. This precaution prevents any accidental spillage.
As you finish filling your seed packets, smoothly fold down the top flap to close the envelope. You can tuck it into the back of the envelope or use tape to secure it shut. Elevate the visual appeal with decorative tape or a charming sticker, adding a delightful finishing touch to your custom-crafted seed envelopes.
In conclusion, creating your custom seed envelopes adds a touch of individuality to your gardening journey. With just a few easy steps, you can craft functional and aesthetically pleasing envelopes that safeguard the promise of future blooms and harvests. The process begins with measuring and cutting paper squares, where using a paper cutter streamlines the task and ensures precision. Folding the paper square diagonally sets the foundation for the envelope, demanding patience and attention for a polished outcome.
Shaping the envelope involves folding in the bottom corners to create a secure base while tucking the flaps firmly ensures a snug closure. This DIY endeavor transforms into an exciting canvas for your creativity as you design unique packets. Stickers, stencils, or handwritten labels add a personalized touch and remember to record essential details like the plant name, collection date, and your name.
Filling the envelopes requires care, especially with tiny seeds, which can be folded into paper or tissue for containment. The finishing touch comes in sealing the envelopes – fold down the top flap, tuck or tape it shut, and consider embellishing with decorative tape or stickers.
As you embark on your gardening journey armed with these beautifully crafted seed envelopes, remember that this small but impactful process is a testament to your dedication and love for nurturing nature’s wonders. Your handcrafted envelopes hold seeds and the potential for growth, beauty, and a connection to the Earth. By embracing this DIY approach, you’re not just sowing seeds; you’re sowing creativity, sustainability, and a deeper appreciation for the natural world. Happy gardening!
