Starting plants from seeds is not only cost-effective but also incredibly satisfying. However, relying solely on a sunlit south-facing window might not provide the optimal light intensity required for successful indoor seed starting. This is where the invaluable role of grow lights comes into play.
Incorporating grow lights is essential to cultivate resilient seedlings of vegetables, herbs, and flowers. While a well-lit south-facing window can be beneficial, it must often provide the intensity needed for robust growth.
The lack of adequate light can lead to a phenomenon known as “etiolation,” where seedlings stretch and elongate to reach the light source. This results in weak, spindly stems that struggle to support plant growth. In stark contrast, seedlings raised under the influence of adequately designed grow lights exhibit remarkable strength and resilience.
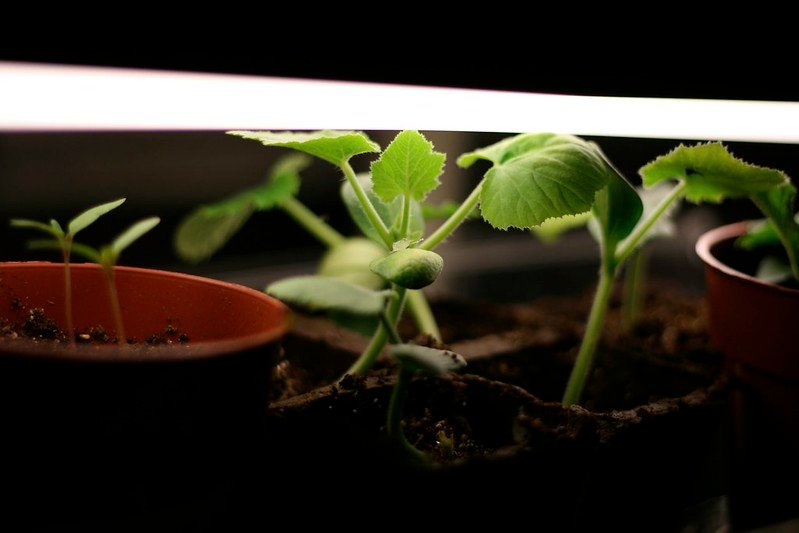
These specialized lights emit a spectrum of light that nurtures photosynthesis and overall plant health. Positioning grow lights overhead encourages seedlings to grow vertically, imitating their natural upward growth pattern. This eliminates the common issue of seedlings bending and leaning towards a distant window.
The result is seedlings with sturdy, well-developed forms, ready to thrive indoors and outdoors. This comprehensive approach to seed starting using grow lights promotes optimal growth conditions and sets the stage for successful transplanting and flourishing indoor gardens.
Incorporating grow lights into your indoor seed-starting process is a practical and effective strategy to ensure your plants receive the light they need to grow strong and vibrant. It’s a technique that bridges the gap between natural sunlight and the controlled environment of indoor gardening, ultimately leading to healthier and more robust plants.
Table of Contents
How long do you leave grow lights on when starting seeds?
Maximize your young seedlings’ growth by keeping grow lights on for 14 to 16 hours daily. Start them in the morning and end around dusk for optimal results. This replicates the natural light cycle vital for photosynthesis and robust development. Proper lighting management is essential for successful indoor seed starting and vibrant indoor garden plants.
How many grow lights do I need for seed starting?
The number of grow lights needed for seed starting depends on your growing area and plant light requirements. Generally, most seedlings require 2000-3000 lumens per square foot. Measure your growing space and calculate lumens per light. Divide required lumens by per-light lumens to estimate the number of lights, adjusting for even coverage and plant types. Always consider optimal light placement for healthy growth.
Here’s a step-by-step guide to help you get started
Materials you’ll need to start growing seeds indoors
- Seeds
- Seed trays or containers with drainage holes
- Seed starting mix or a soilless potting mix
- Grow lights (LED or fluorescent lights designed for plant growth)
- Timer (to control the light cycle)
- Watering can or spray bottle
- Plastic wrap or a clear humidity dome (optional)
- Labels or markers
- Water
Steps
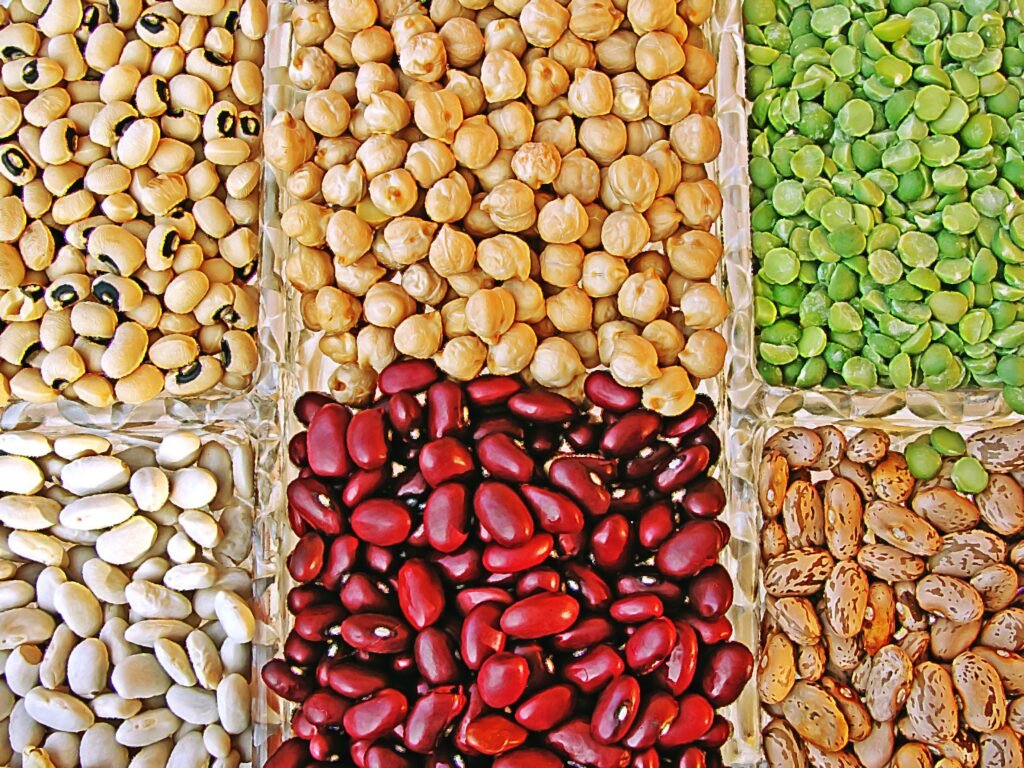
Choose Your Seeds
When embarking on indoor seed starting, the initial step is selecting the seeds you intend to nurture. Recognizing that each plant species possesses unique prerequisites for successful germination and growth is crucial. Therefore, undertaking thorough research to comprehend the specific demands of each type of plant is paramount. Factors such as light intensity, temperature range, moisture levels, and germination duration may significantly differ among various plants. By understanding these individualistic needs comprehensively, you pave the way for a prosperous indoor gardening endeavor, fostering healthy and robust seedlings that will flourish when transplanted outdoors.
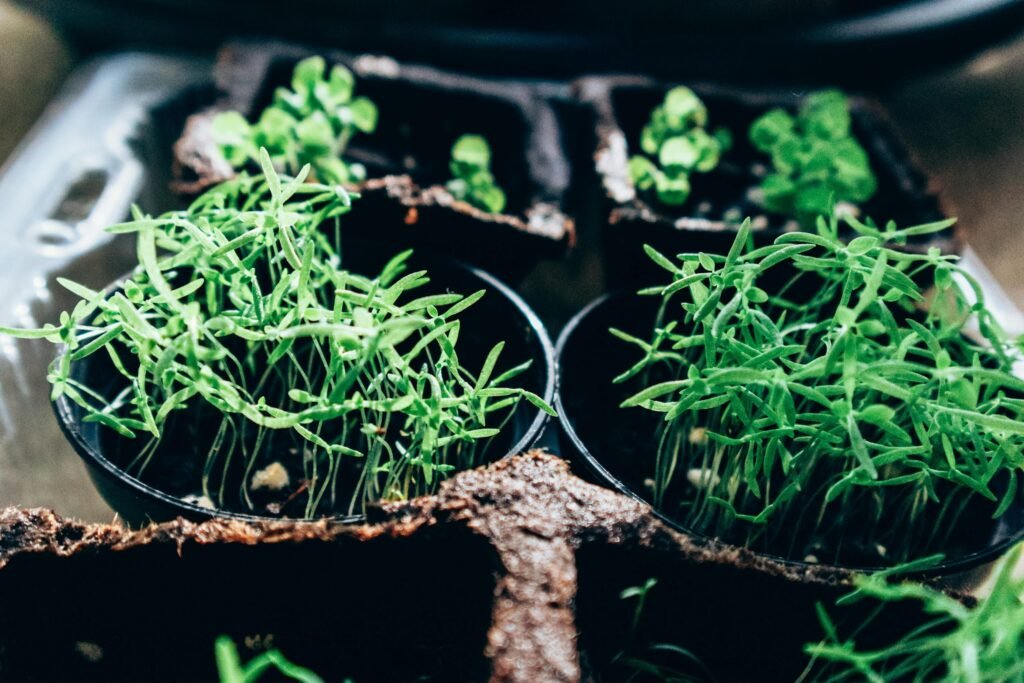
Prepare Containers
When embarking on indoor seed starting, carefully select the seeds you wish to cultivate. It’s essential to recognize that different plants come with distinct growth needs. To ensure success, dedicate time to in-depth research, delving into the specific requirements of each plant type. From temperature preferences and light conditions to soil compositions and moisture levels, comprehending these nuances empowers you to create an environment where your seeds can flourish. This meticulous approach promotes germination and lays the foundation for robust seedlings that thrive as they transition from indoor to outdoor growth.
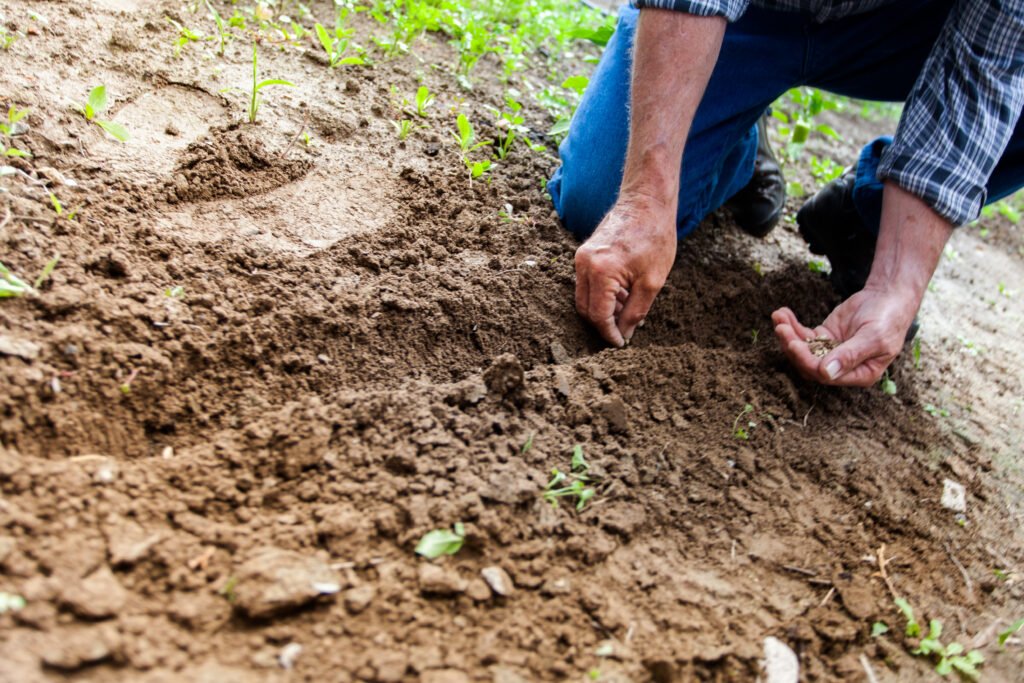
Planting Seeds
Adhering to the recommended planting depth indicated on the seed packet is crucial for successful germination when sowing seeds. This information ensures each seed receives the right soil coverage to establish sturdy roots and healthy growth. A gentle press onto the soil surface is often sufficient for tiny seeds, allowing them to access the necessary light for germination. Conversely, larger seeds benefit from being planted slightly deeper to secure them in the soil and provide the appropriate conditions for sprouting. These guidelines set the stage for optimal seedling development and a thriving garden.
Covering Seeds (Optional)
Enhancing seed-starting practices involves recognizing the specific needs of certain seeds. In particular, some seeds derive advantages from a delicate veil of vermiculite or a slightly increased layer of seed starting mix. This seemingly subtle step serves a vital purpose by creating a conducive environment for germination. Covering the seeds optimizes moisture retention, aiding in the crucial initial stages of growth. This protective layer acts as a shield against rapid evaporation and provides a consistent level of humidity, which is essential for encouraging successful seed germination. It’s a small yet significant tactic that can significantly contribute to the overall success of your seed-starting endeavors.
Provide Humidity (Optional)
Creating an environment conducive to germination is pivotal for successful seed starting. A simple and effective approach involves covering the seed trays with either plastic wrap or a transparent humidity dome. This method traps moisture and elevates humidity levels around the seeds, expediting germination. As the seedlings gradually emerge from the soil, the plastic wrap or dome can be gently removed to prevent excess moisture buildup and allow for proper air circulation. This initial humid microclimate promotes optimal conditions for germination while safeguarding delicate emerging seedlings, setting them on a path toward healthy growth.
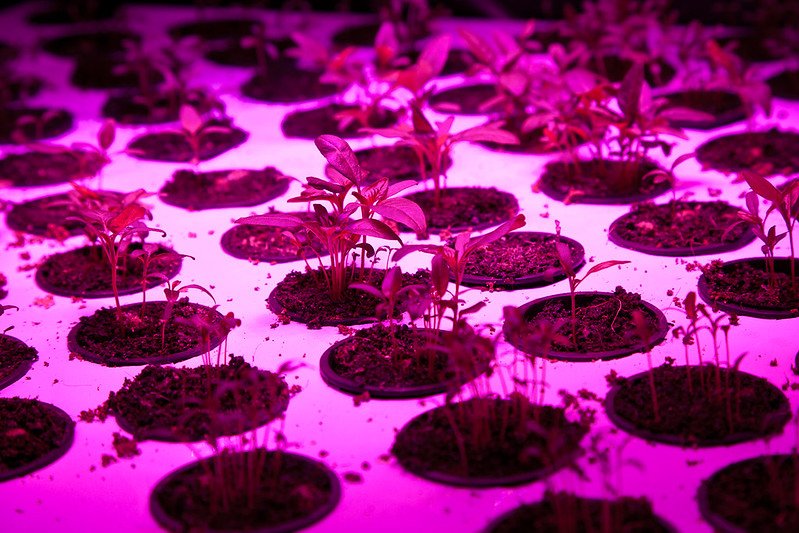
Place Under Grow Lights
Place your seed trays beneath the grow lights, ensuring they are positioned at the correct distance from the seedlings. This gap varies based on the light type and seedling growth stage. As a rule of thumb, initiate with lights approximately 2-3 inches above the seedlings. This proximity helps prevent stretching and encourages sturdy growth. As your seedlings develop, regularly monitor their progress and adjust the light height accordingly. Adapting the light’s distance as they grow ensures they receive the optimal amount of light for photosynthesis, ultimately contributing to healthier and more vigorous plants ready for transplantation.
Set Up Light Cycle
Providing 14-16 hours of daily light is crucial for most plants during their growth stages. A timer is an invaluable tool to simulate the natural rhythm of daylight and darkness. This effectively mirrors the plant’s native day-night cycle, fostering optimal growth conditions. Automating the light schedule ensures that your plants receive consistent and appropriate light exposure, which is essential for photosynthesis, nutrient absorption, and overall health. This controlled lighting regimen mitigates the risk of overexposure or insufficient light, enabling plants to flourish in a stable and nurturing environment, ultimately resulting in strong and vigorous growth.
Monitor and Water
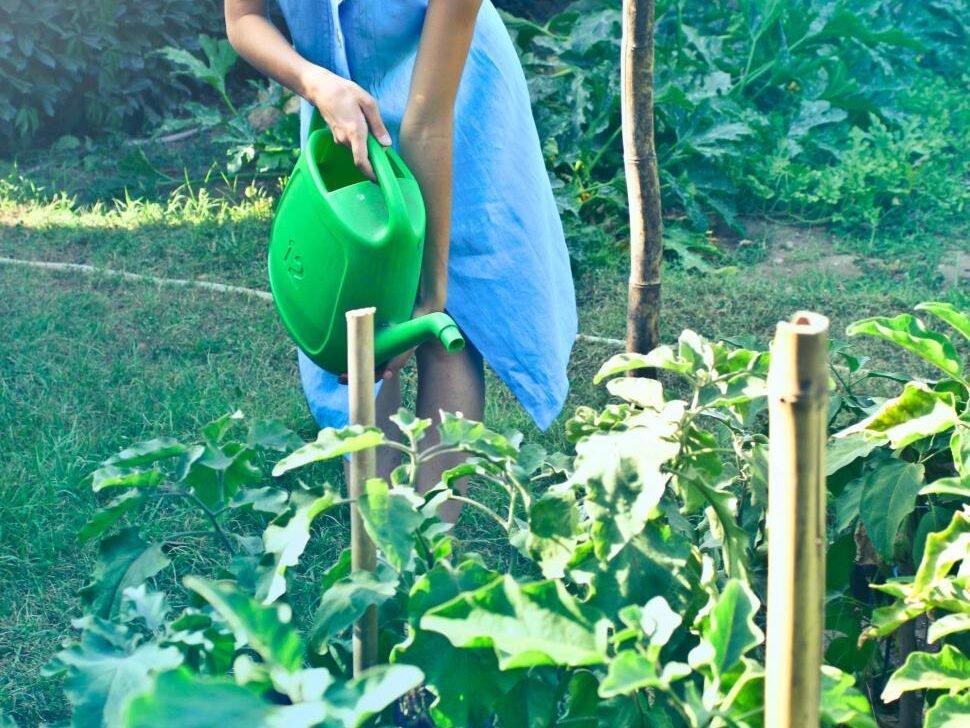
Vigilantly monitor the moisture content of your seed starting mix. Consider two effective methods to hydrate your seedlings without unsettling the delicate seeds. Employ bottom watering by placing your trays within a shallow water-filled tray, allowing the soil to absorb moisture from below. Alternatively, opt for a gentle misting approach using a spray bottle. Striking the right balance is crucial; aim for soil that remains consistently moist without becoming overly waterlogged. Maintaining this delicate equilibrium provides the ideal environment for seed germination and early seedling growth, setting the stage for healthy plant development.
Thin Seedlings
After your seedlings have progressed to the point of developing a few true leaves, it’s crucial to assess their density. Overcrowding can impede their growth potential. To address this, thinning becomes necessary—a process involving the removal of weaker or less robust seedlings. Doing so allows the healthier seedlings the space and resources they need to flourish. This selective thinning not only prevents competition for light, water, and nutrients but also aids in preventing the spread of diseases that might increase in crowded conditions. Your intervention ensures that the remaining seedlings have the best chance of becoming robust, thriving plants.
Fertilize (Optional)
Once your seedlings have developed their initial set of true leaves, they can be introduced to a diluted, balanced liquid fertilizer. This gentle feeding provides essential nutrients that support their early growth. Remember to adhere to the guidelines provided by the manufacturer, as each fertilizer might have specific dilution ratios and application frequencies. Carefully following these recommendations ensures that your seedlings receive the necessary nourishment without risking over-fertilization, which can harm their health. This strategic approach to fertilization contributes to fostering strong, vigorous seedlings that are well-prepared for transplanting and further growth.
Harden Off
To ensure a successful transition, it’s crucial to acclimate seedlings before transplanting them outdoors. This process, known as “hardening off,” prevents shock caused by abrupt environmental changes. Over about a week, introduce your seedlings to outdoor conditions gradually. Begin by placing them in a sheltered spot with indirect sunlight for a few hours daily. As the days progress, extend their exposure and introduce them to more direct sunlight. This gradual adjustment helps the seedlings adapt to temperature, wind, and light intensity fluctuations, setting the stage for healthy growth once they’re permanently transplanted into your garden.
It’s essential to recognize that each plant species comes with unique requirements, underscoring the significance of thorough research into the needs of the particular plants you’re nurturing. A one-size-fits-all approach rarely works in gardening, as variations in light, water, and care preferences can significantly impact your plants’ development.
For instance, some plants might thrive in bright indirect light, while others necessitate more direct sunlight. Similarly, certain species prefer well-draining soil, while others thrive in slightly moist conditions. By delving into the specifics of your chosen plants, you can tailor your care regimen to match their preferences accurately.
This attentive approach extends to factors beyond light and moisture. Consider elements like temperature, humidity, and the nutrients required for robust growth. Equipped with this knowledge, you can curate an environment that best supports your seedlings’ journey from germination to healthy seedlings ready for transplanting.
Remember, gardening is a blend of art and science. The art lies in understanding your plants’ responses and needs, while the science involves applying that knowledge through consistent care. Investing the time to understand and cater to your plant’s unique requirements ensures a higher likelihood of successful germination and nurturing, resulting in vibrant and flourishing seedlings poised to thrive in your garden.
